(randomly reassigns 9 squares of image to 8 slots)
(make the image square before splitting)
Make a subdirectory whose name is the first 4 letters of your last name. Where I have kele, you should have the first 4 letters of your last name. Start by copying my starting point code into your subdirectory:
	% mkdir kele
	% cd kele/
	% cp /home/cfk/pub/cs35/week12/image/* .
	% cp -r /home/cfk/pub/cs35/week12/cfkclassphotos/ .
	% ls
For this assignment, you will implement a program that manipulates jpeg and/or gif images. An image is encoded as a 2 dimensional grid of pixel values. Each pixel has a Red, Green, and Blue component, each of which can have a value ranging from 0 to 255. For example, the color white is represented by the value 255 for R, G, and B components of the pixel, and the color black by 0 for all three. All other permutations correspond to color and grey values (when a pixel has the same value for all of its R, B, and G components, it is a greyscale color).
You can think of the image as being stored as a 2-dimensional grid of Pixel objects. However, unlike 2-D array accesses using row and column indices, pixels are accessed using their (x,y) coordinate value in the grid, where (0,0) is the pixel in the upper left corner, and the x and y values are increasing to the right and down:
                     3     x-axis
   (0,0)  *----------|------------------------>
          |
          |
y-axis    |          _
        2 -  	    | | Pixel (3, 2)
          |          -
          |
          |
          |
          \/
For example, to set the pixel in the upper left corner to WHITE I'd do the following:
	Pixel pix = picture.getPixel(0,0);
	pix.setRed(255);
	pix.setBlue(255);
	pix.setGreen(255);
	pix.setPixel(0,0,pix);
Features should be cumulative, so that if the user first clicks on the rotate 90 degrees button twice, you first rotate it 90 degrees and then rotate the rotated image 90 more degrees (it is now upside down). The Revert button, which is already implemented for you, restores the image to its initial form. Some features can be done in place on the image, and others require that you make a temporary copy of the image from which you can get the "before the modification" pixel values.
You will add code only in the Image.java file, and you should use the examples to guide your adding new features. For each feature you need to (1) add additional buttons (following the examples given) in the createButtons method, and (2) implement ActionListener classes associated with each button. Objects of classes that implement ActionListener are associated with Buttons. When a button is "pushed", the object's actionPerformed method invoked. You will implement each image manipulation feature as the actionPerformed method of a feature-specific ActionListener class.
I strongly suggest that you implement one feature, then compile and test it, then implement the next feature, compile and test it, and so on. Start with easier features like Negative, Lighten, and Darken before trying some of the more difficult features, like zoom, sort, tile and rotate 90 degrees. Also, for some features it may be easier to see if they are correctly implemented if you try them out on a greyscale image.
xv image.gifthen right click on the image to get the menu, then choose the Save button and choose Format: JPEG, and OK.
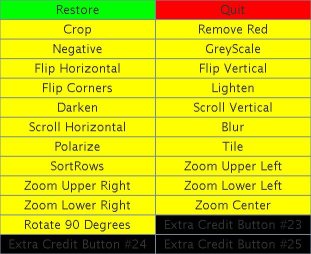
You must implement the following features (see below for examples of most of these features):
If the copy of your image had a section of Pixels whose Red components
look like this:

 +-----------------+
 | 116 | 119 | 65  |
 +-----------------+
 | 85  | 14  | 31  |
 +-----------------+
 | 177 |  5  | 55  |
 +-----------------+

In your blurred image, the new value of the Red component for the
center Pixel would be the average of all of the pixels in the 3x3 square:

 +-----------------+
 |     |     |     |
 +-----------------+
 |     | 74  |     |
 +-----------------+
 |     |     |     |
 +-----------------+
Be careful at the edges of the image: not all pixels have 8 neighboring pixels!
	(1) (2)
	(3) (4)
If you get this, then try a tiled image which is a grid of 16 sub-images in this form (the 16 sub-image tiled effect is not a required part of the assignment):
	(1) (2) (1) (2)
	(3) (4) (3) (4)
	(1) (2) (1) (2)
	(3) (4) (3) (4)
For this you should come up with a general pattern to determine which of (1) - (4) to draw based on the current block of the image you are drawing (don't hard-code in all 16 sub-images as separate sections of code).
Extra Credit Features
In addition, you are welcome to try adding extra features for extra
credit. More difficult features
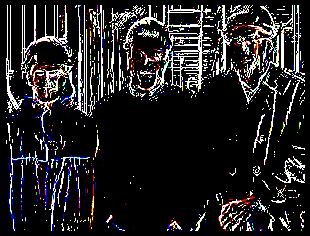
will be worth more extra credit points. Some suggests are adding edge
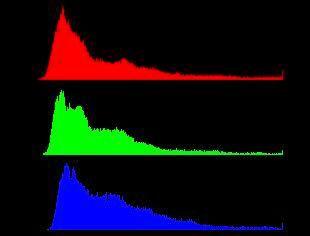
detection, the 8 puzzle effect, a histogram of R, G, and B components of
pixel values (you need to handle the case when for a particular pixel value,
there are more than the image height instances of it),
arbitrary rotate (this one is hard). However, feel free to come up with
your own effects.
Here is a link with some information about image processing that may give
you some ideas to try out.
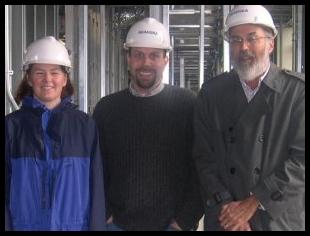
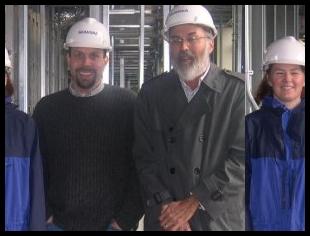
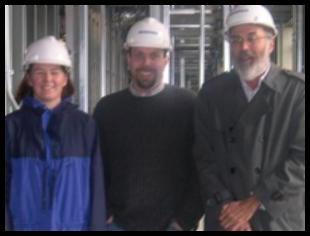
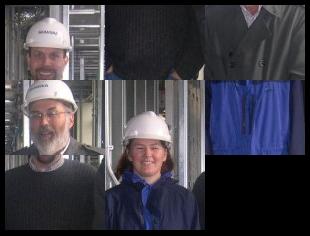
| Example Menu of Buttons: | Original Image: | ||||||||||||||||||||||||||||||||||||||
| Darken:
| Lighten:
|
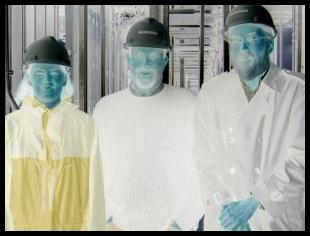
Negative:
| Polarize:
|
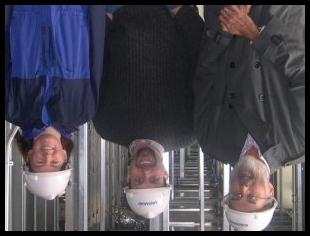
Flip Vertically:
| Scroll Horizontally:
|
Zoom (upper left):
| Switch the top left and bottom right corners:
|
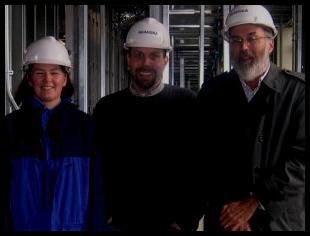
Greyscale:
| Sort Each Row (I converted to greyscale before sorting):
|
Blur:
| Tile (the 4 sub-image version):
|
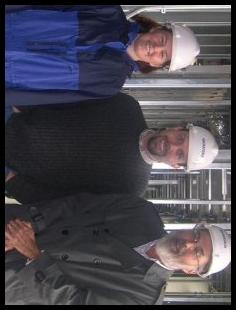
Rotate 90 Degrees:
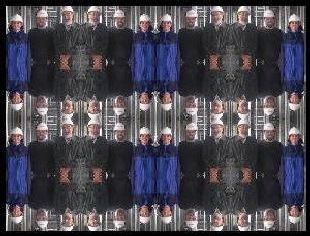
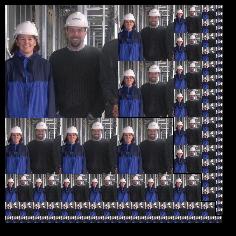
| The 16 sub-image Tile Version (not required):
|
EXTRA CREDIT FEATURES: |
EXTRA CREDIT FEATURES: |
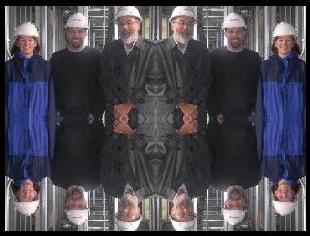
8 squares puzzle:
| (randomly reassigns 9 squares of image to 8 slots) Infinite Split:
| (make the image square before splitting)
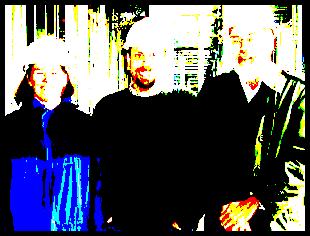
EdgeDetect:
| Histogram of R, G, and B pixel values:
|
|