SSHFS
The secure shell filesystem (SSHFS) client allows you to access remote files on the CS network as if they were on your own computer as long as you have an Internet connection. It will also allow the programs you run on your computer to access those files without those program worrying about ssh or where the files are physically stored.
This document describes how to setup SSHFS on your personal computer to connect to the Swarthmore Computer Science network. Please select the instructions pertaining to your operating system:
Windows Setup
To set up SSHFS under Windows, we will need two pieces of software:
-
SSHFS-Win: communicates with the CS network computers
-
WinFSP: makes the network drive appear within Windows
Once you have installed these two programs, the setup process is fairly simple
Download and Install WinFS
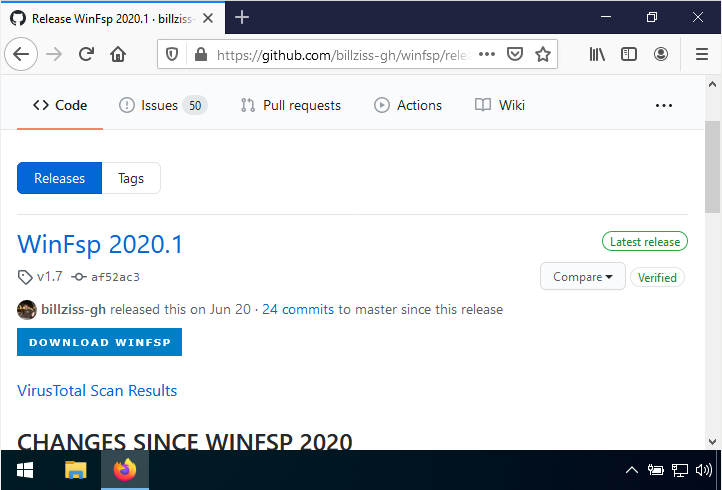
First, we need to download and install WinFSP. This program allows Windows to support a variety of different virtual filesystems; we need it for the SSHFS-Win software to work. Visit the project’s GitHub download page and download the installer.
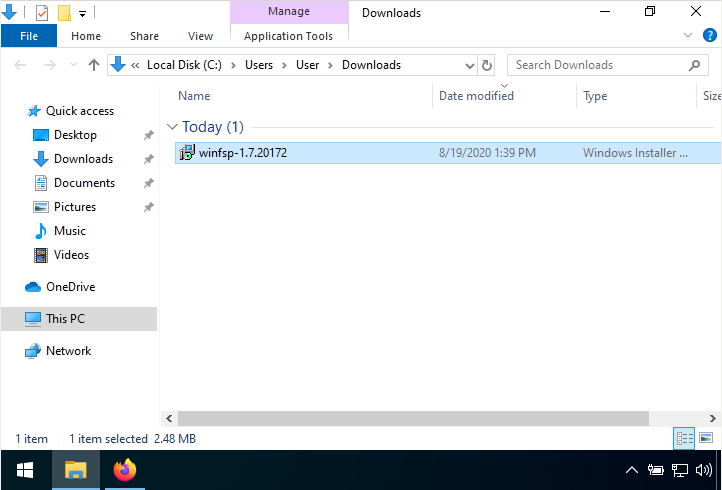
Once you have downloaded the installer, you should run it. You can reach the file through your browser’s download window or, typically, find the file in your Downloads folder.
Double-click on the file to run it. You’ll be greeted with a pretty typical software installer window.
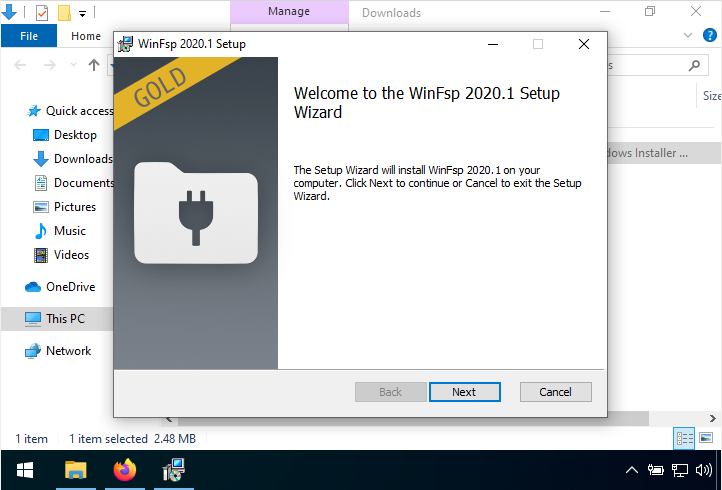
Press "Next" twice and "Install" once. You will then be presented with a pretty typical confirmation dialog. The installer is checking that you understand that WinFSP is capable of changing how Windows accesses files on your computer
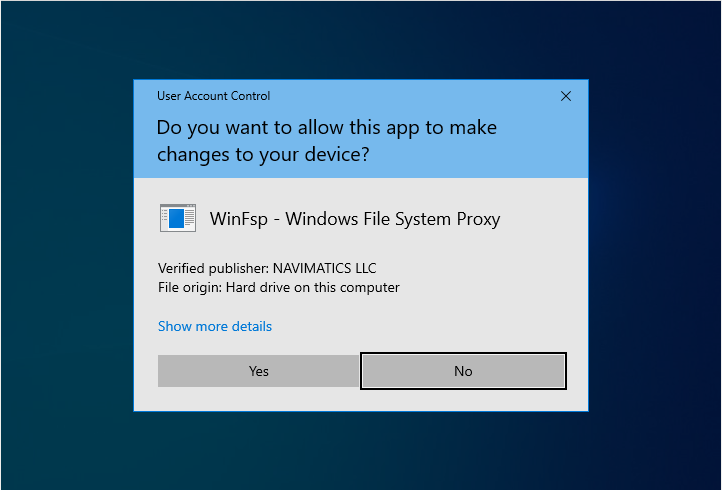
Press "Yes" and the installation will proceed. It won’t take more than a few seconds.
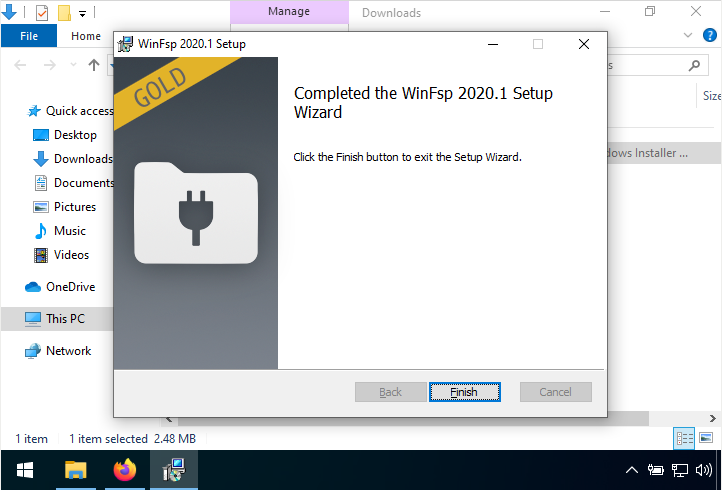
You can then press Finish. WinFSP is now installed. It doesn’t do anything for you by itself, but it lays the groundwork for what we’ll do next.
Download and Install SSHFS-Win
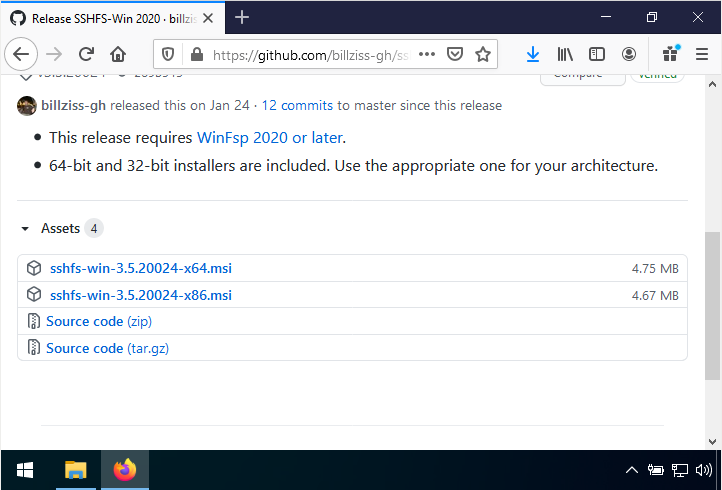
Next, we need to download and install SSHFS-Win. You can download the file from the project’s GitHub download page similar to WinFSP. Note that there are two installers on this page: one is labeled x64 and the other is labeled x86. Unless you know something specific about your computer, you probably want the x64 version.
Repeat the process from above: run the installer, press "Next" when necessary and agree to make changes to your computer, and then press "Finish".
Using SSHFS-Win
To set up SSHFS access to the CS network, you need to configure SSHFS-Win. Begin by opening any Windows Explorer window and right-clicking on the Network icon on the left.
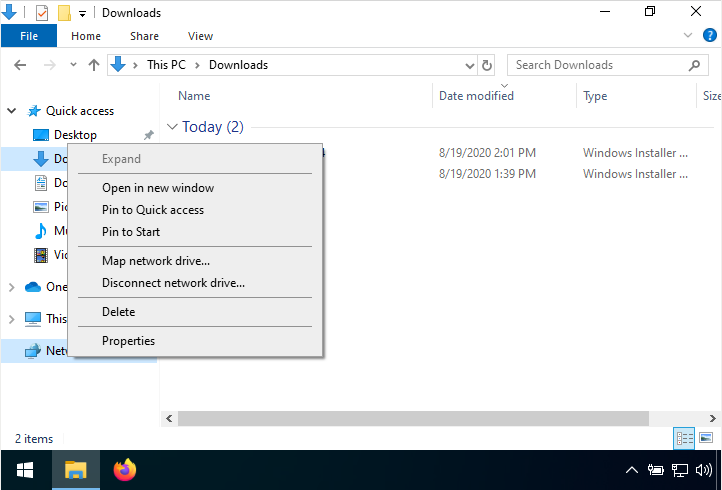
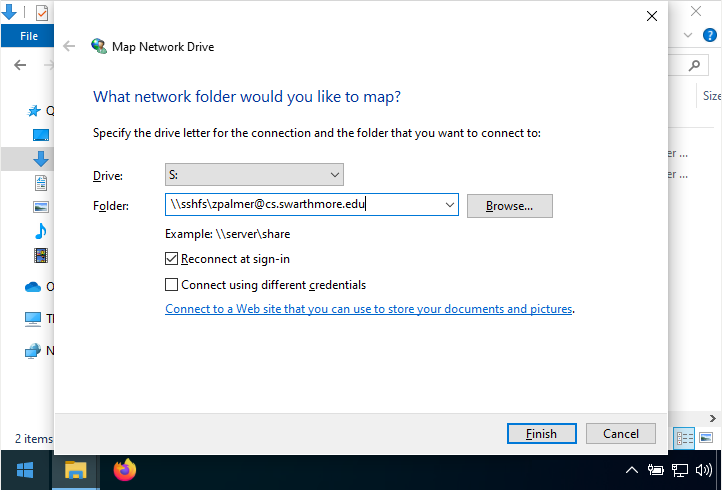
Choose "Map Network Drive". You will be presented with the following dialog.
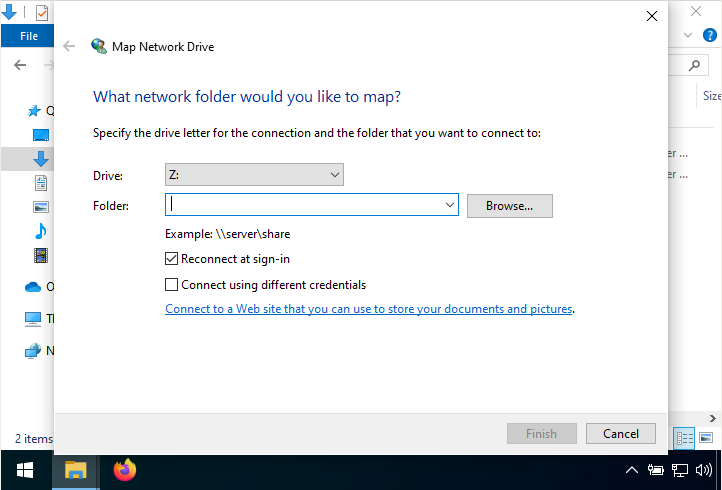
You should select S: (for Swarthmore) as the drive letter. You can use any letter you like, but instructions in your classes will probably use S:.
Copy the following text into the "Folder" box.
\\sshfs\username@cs.swarthmore.eduThen, change username to your Swarthmore username. Make sure that the text is copied exactly otherwise. When you are finished, your dialog box will look something like this:
Press "Finish" and you will be presented with a dialog box asking for your password
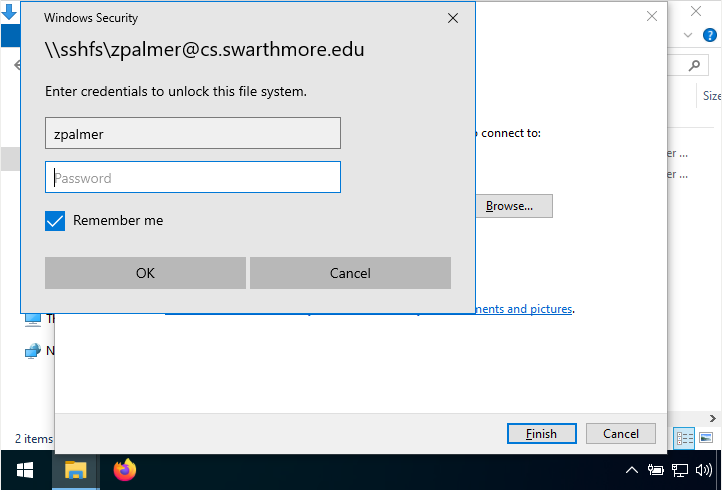
Make sure to enter your CS network password. Note that this isn’t necessarily the same as your Swarthmore password (although you may have set up your CS account with the same password). If you don’t remember your CS network password (or if you haven’t set up your CS network account yet), visit the SwatCS Password Service and then come back to complete this step.
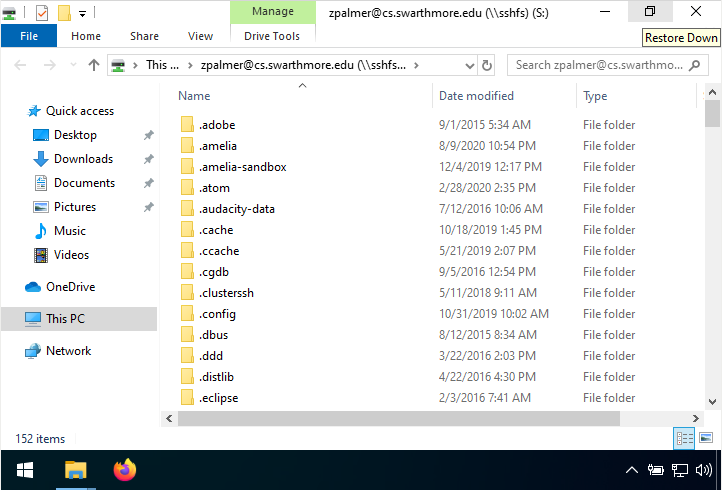
Once you have entered your CS network password, press "OK". After a few seconds, a Windows Explorer window will pop up showing you your CS network home directory! (There are a lot of files already there that begin with a period; these are called "dot files" and usually store program settings and the like. You don’t need to worry about them.)
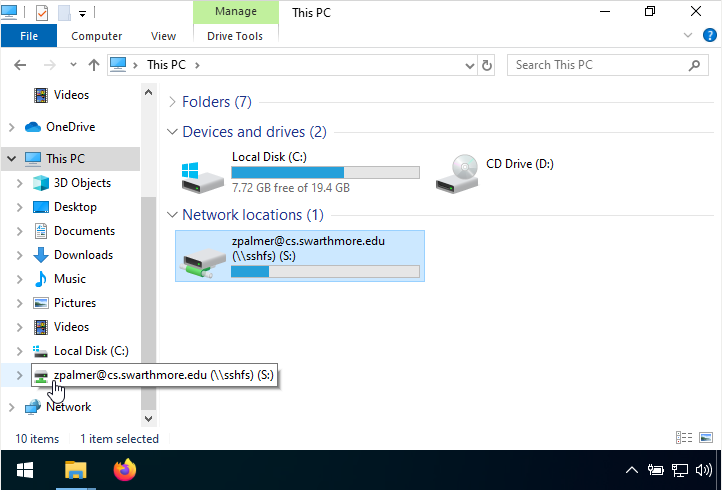
You can also see the CS network under This PC and in several other places. You can create a shortcut to it and interact with it just like any other folder on your computer.
Your SSHFS setup is complete!
Mac OSX Setup
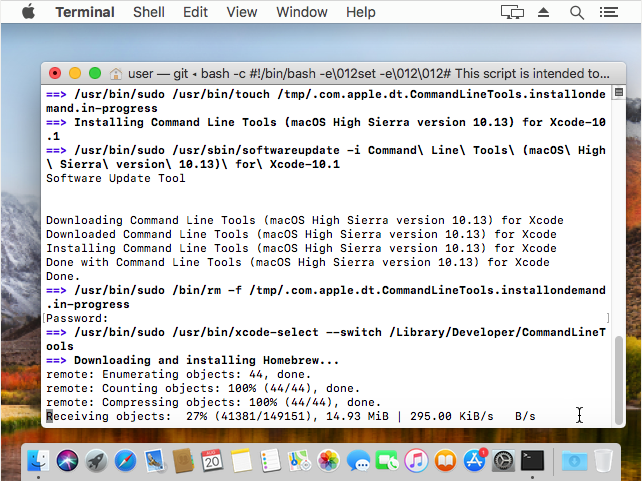
Setting up SSHFS on Mac OS requires a few different pieces of software that are most reliably installed via the terminal. To simplify matters, we have prepared a script which is available via this website which will take care of a lot of the work. This script will install SSHFS, Homebrew (a software package manager), and several MacOS development tools which are necessary to make everything work.
This will take some time. The installation process does not require much interaction from you, but it may take a couple hours to download and install everything and you will occasionally be asked to provide a password to the terminal. You can use your computer for other things while this is happening, but you may have to start over later if you turn your computer off or disconnect it from the Internet during the installation. If using a physical Ethernet cable to connect to the Internet is an option, it may help speed things up and will protect against your connection dropping.
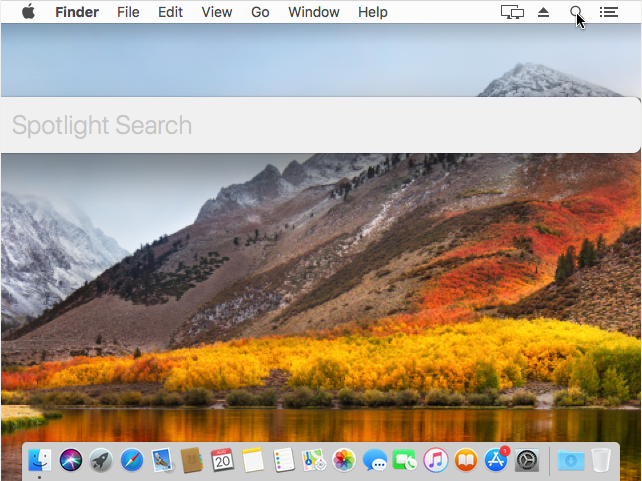
To begin, open a Terminal. One way to do this is to search for the program named "Terminal" with Spotlight, the magnifying glass on the top right of the screen.
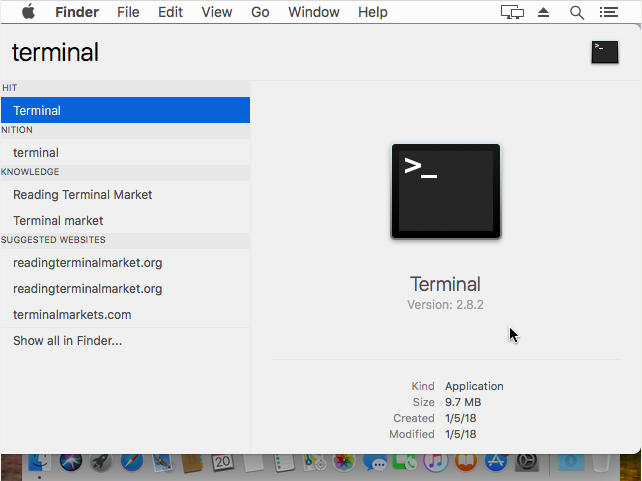
You can then type "Terminal" and choose the terminal program when it appears.
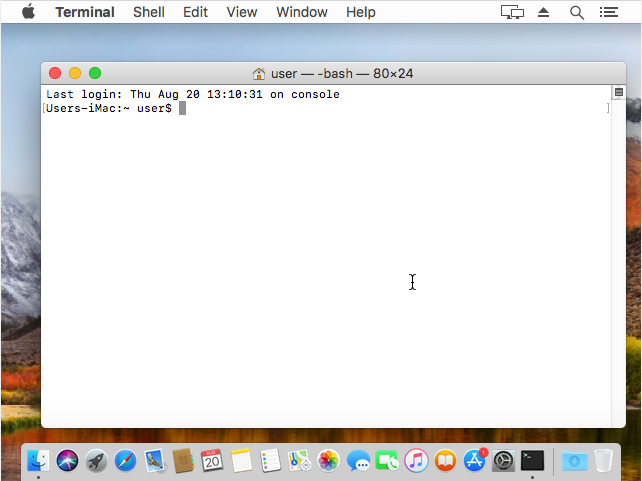
Once you’ve chosen the program, a terminal window will open. This window allows you to enter commands to be executed on your computer and is quite similar to the terminal interface we use on the Computer Science network. If you are unfamiliar with the terminal, don’t worry; you’ll learn how to use it in your courses!
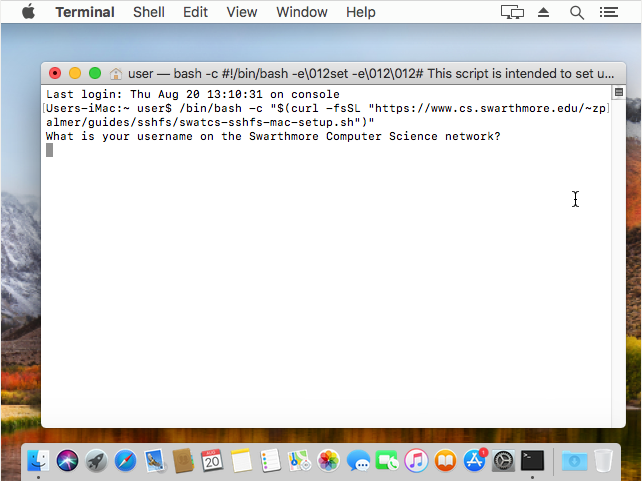
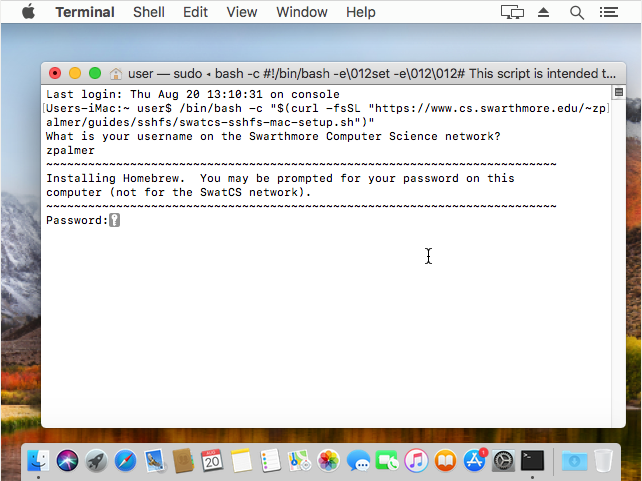
Once you’ve opened a terminal, copy the following command into it. You are recommended to copy and paste this text rather than typing it yourself to avoid any typographical errors; a mistake in transcription could prevent installation from working.
/bin/bash -c "$(curl -fsSL "https://www.cs.swarthmore.edu/~zpalmer/guides/sshfs/swatcs-sshfs-mac-setup.sh")"Check that the command appears in your terminal exactly as it appears here and then press enter. You will be prompted for your SwatCS username. You won’t need to give your password yet.
Enter your SwatCS username into the terminal and press enter. The script will then begin the process of installing software. At this point, it will prompt you for your local password: the one you use to log into your own computer. Type your password here and press enter. Do not type your SwatCS password (unless it is the same) here; it won’t work.
Once you have given your password, the Homebrew installer will tell you want it is about to do and ask you to press enter to continue.
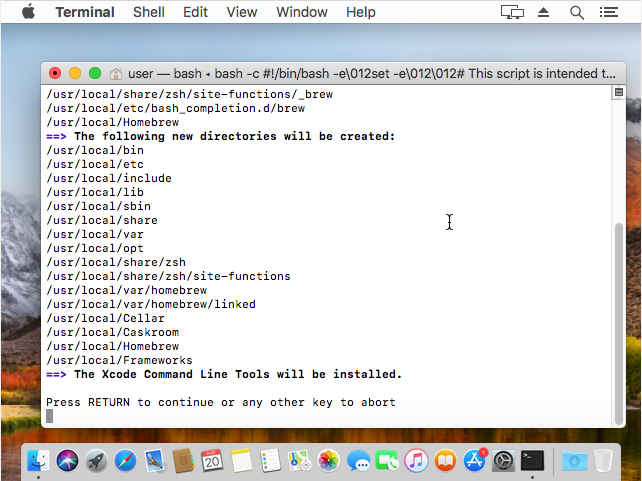
Press enter. The Homebrew installer will start doing work — quite a lot of work — and will flood your terminal with a lot of text. After a few seconds, it will start downloading Xcode, Apple’s application development framework (unless you already have Xcode installed).
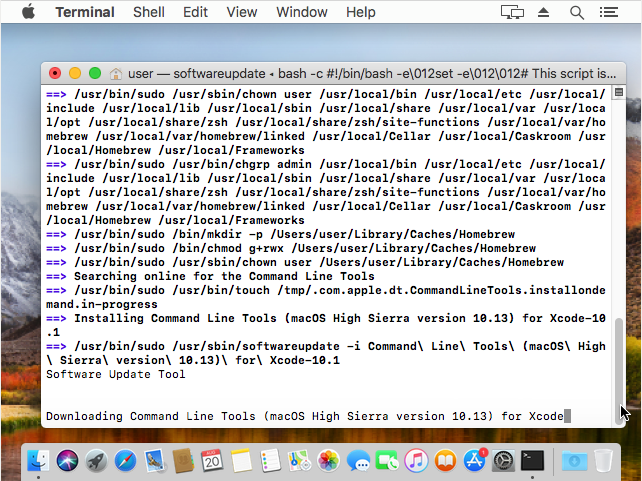
This part takes a while, perhaps ten minutes on a good connection and longer on a slower connection, and, unfortunately, there is no progress bar. You can walk away from the computer and come back later or you can use your computer to do other things. Just don’t turn the computer off or put it on standby — for most users, that means that you shouldn’t close the laptop lid — and don’t disconnect from the Internet.
Eventually, you will be prompted for your system password again to complete the installation of the tool. Until the installation is complete, each of these password prompts requires your local password (the one you use to log in to your computer). You may be prompted more or less than in this guide, depending upon how long installation takes.
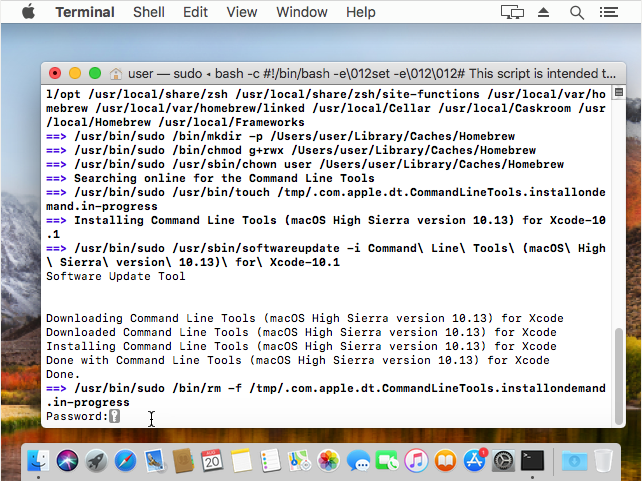
Enter your password when you see this prompt and the Homebrew package manager itself will begin downloading. Thankfully, there’s a progress report this time!
The installer will then start downloading additional components that it needs to make Homebrew and SSHFS work. So we get to wait for another (somewhat longer) download. You don’t need to do anything at this point.
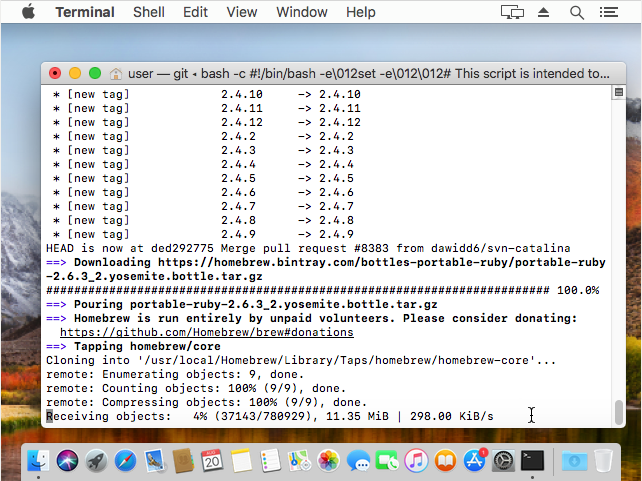
Once that download is complete, the installer will begin downloading SSHFS. Strangely enough, this may involve updating the Homebrew Core that you just downloaded. Again: just wait for the progress meter.
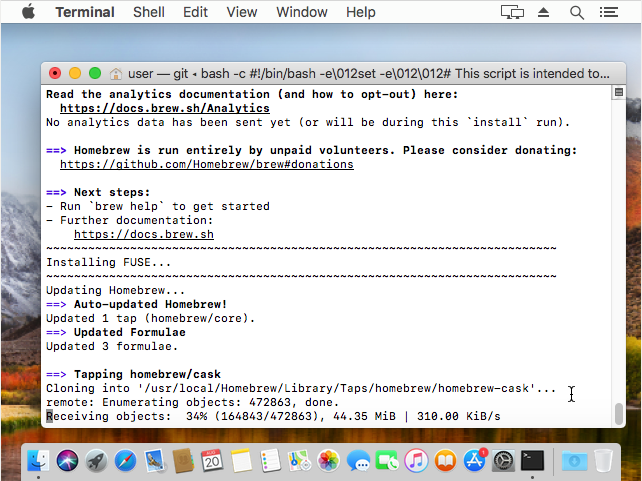
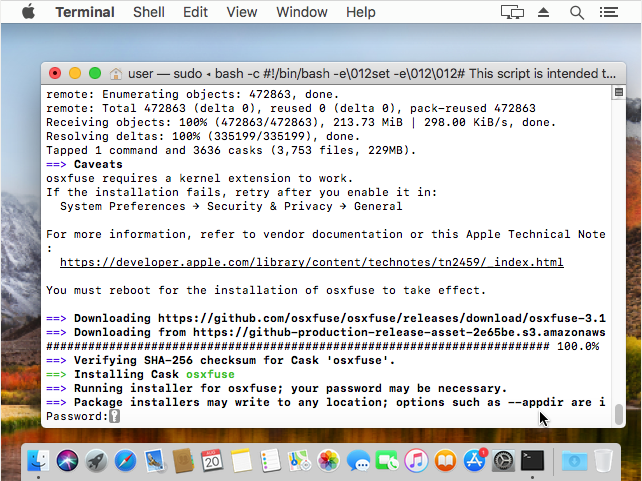
Another password prompt will appear when the OSXFUSE component is installed. Again: this is your local password for your computer.
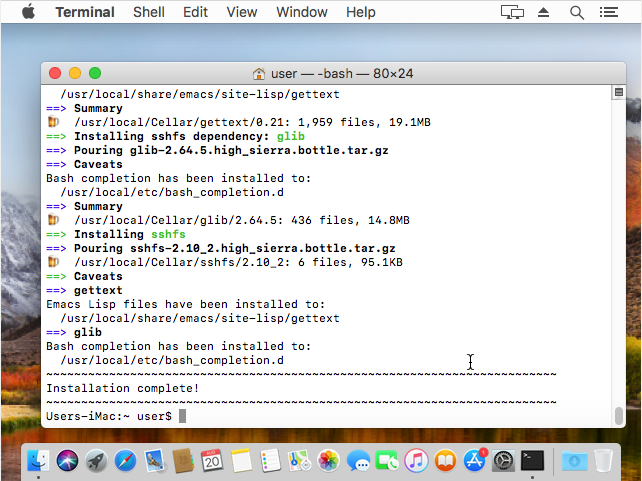
From this point onward, the installation is brief and hands-off: the SSHFS software is very small in comparison to the things it needs to work. If you see the "Installation Complete" message, then you’ve finished installing SSHFS. We still need to configure it to make it work, which we will do below.
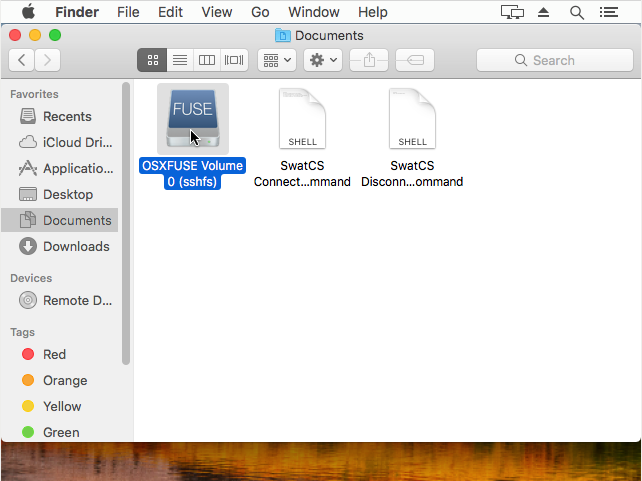
You can now close the terminal window; we won’t need it anymore. To test your SSHFS setup, open Finder and select Documents on the left.
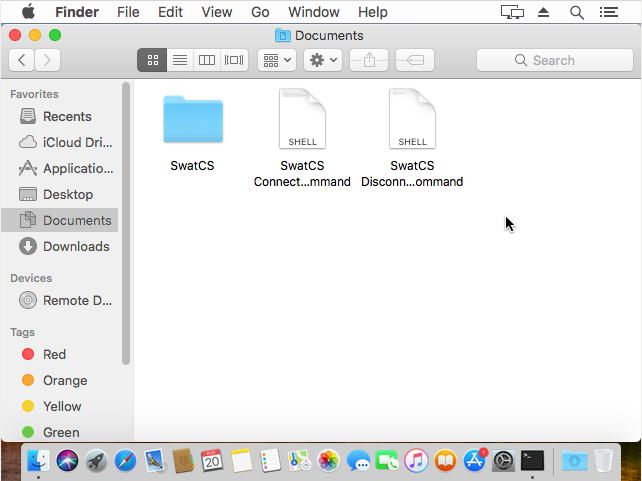
It’s likely that you will have many more files in the Documents folder, but the ones we are interested in begin with "SwatCS". One is a folder; the other two are shell scripts. The script we are interested in is the "SwatCS Connect" script.
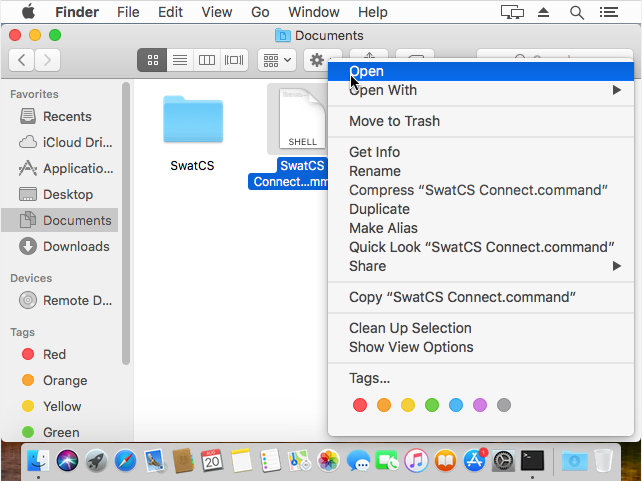
Click on "Open" and the script will run. You will probably be prompted with a dialog window that notifies you that the FUSE system extension was blocked. This is because it is a new piece of software that was not installed through the App store and your operating system does not trust it.
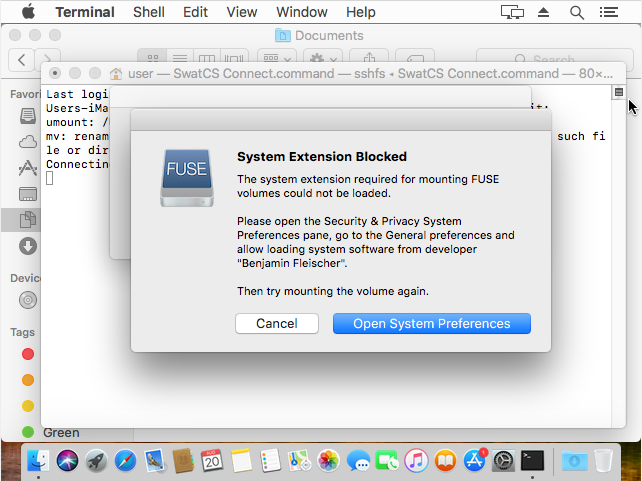
Press the Open System Preferences button. In the bottom of the window that opens, you will see a message like "System software from developer Benjamin Fleischer was blocked from loading."
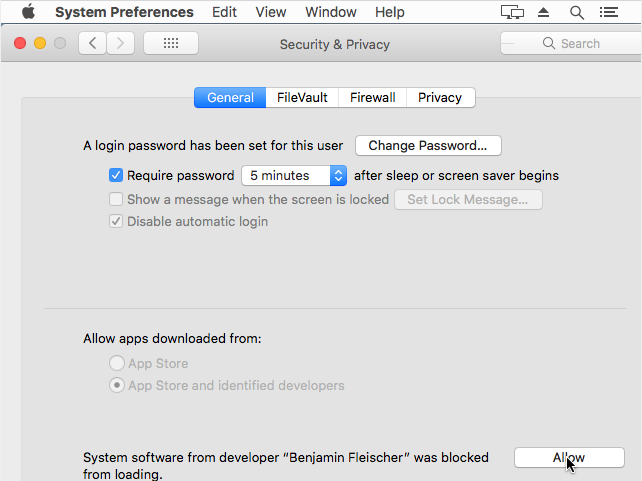
Press the "Allow" button and the message will disappear. Then close the System Preferences window and the terminal window which opened when you ran the command. You won’t need to go through this process again.
Open the "SwatCS Connect" script again. If you’ve never connected to the Swarthmore CS network from this computer before, you’ll see a message asking you if you trust the host. If you have connected to SwatCS from this computer, you might not get this message.
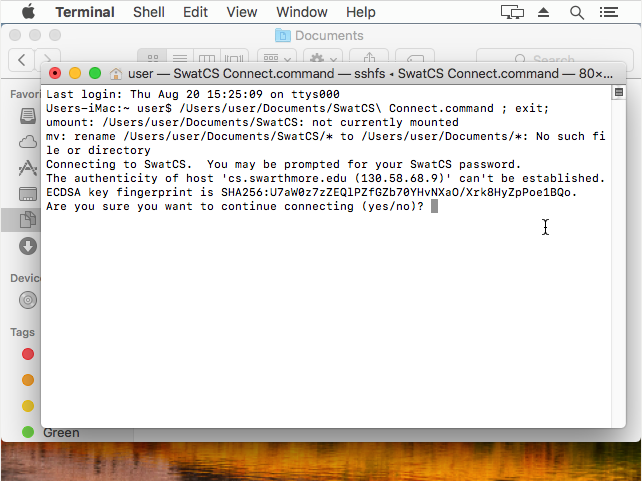
Type the word "yes" at this prompt to dismiss it. You won’t need to do it again.
You will then be asked for your SwatCS password. This is the password you would use on the Swarthmore Computer Science network. If you do not remember your password or have not yet set it up, please visit the SwatCS Password Service and then come back to complete this step.
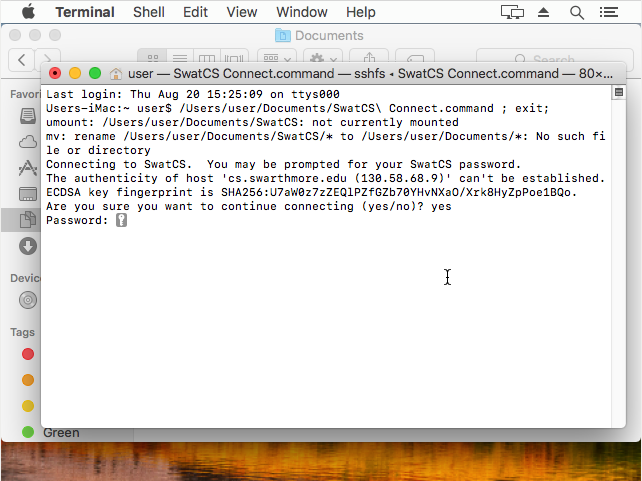
After you provide your password, the terminal session will end with a message like "Process completed". If something has gone wrong, an error message will appear above that text in the terminal. If the word "logout" appears immediately after the password prompt, then everything is probably fine.
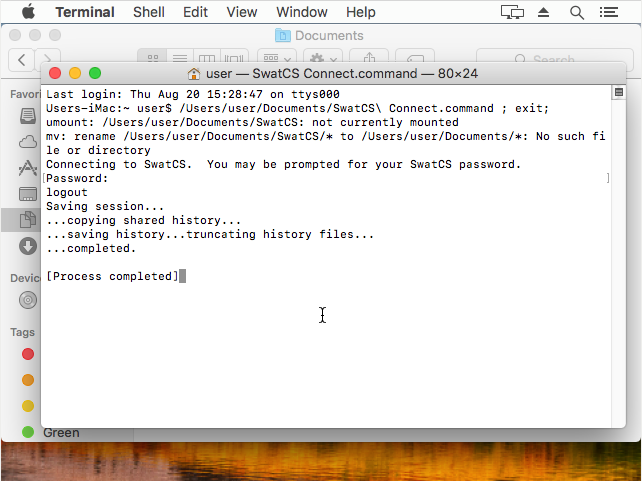
Close the terminal window and look at the Documents folder in Finder once more. If everything worked correctly, you’ll notice that the "SwatCS" folder has disappeared and there is now an item called something like "OSXFUSE Volume".
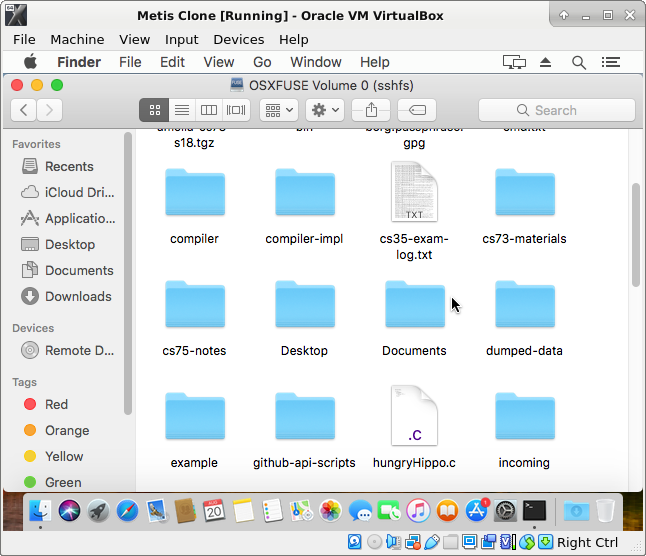
If you open that volume, you will see the contents of your home folder on the Swarthmore Computer Science network!
You can disconnect by either ejecting the "volume" that is your network folder or by running the "SwatCS Disconnect" command in your "Documents" folder.
From now on, you should only need to run the "SwatCS Connect" and "SwatCS Disconnect" commands to gain access to the SwatCS network. Programs on your computer (like your code editor) can access those files as if they were on your own computer. Your SSHFS setup is complete!