Lab 2: 2D Shape Modeling and Animation
Due Monday, 21 September 2020, before 7am
This is a partnered lab assignment. If you have not already done so, please set your Partner preferences through the TeamMaker service. Your can pick a specific partner, a random partner, or to work alone. I strongly encourage you to work with a partner when given the option. You may choose a partner from either lab section. If you pick a specific partner, your partner must also choose you before the application will create a team and create a git repository for you.
1. Lab Goals
Through this lab you will learn to
-
Create basic 2D models in WebGL2.
-
Manipulate model geometry through shader uniforms to scale and translate shapes.
-
Create a small scene consisting of multiple shapes.
-
Perform basic animation of a scene.
-
Become more comfortable with JavaScript and GLSL Shaders.
2. References
2.1. JavaScript
2.2. WebGL2/TWGL
3. Cloning Files
After the setup from last week, you should only need to move to your labs folder and clone your lab2 repo from the Github CS40-F20 org
cd
cd cs40/labs
pwd                   # should list /home/you/cs40/labs
git clone git@github.swarthmore.edu:CS40-F20/lab2-yourTeamName
Longer GitHub setup instructions are available off the Remote Tools pages if you need help. You will be assigned a random team name that is the concatenation of material property, e.g., translucent, and an animal, e.g., Porcupine.
3.1. Setting a Symbolic Link
Similar to Lab 1, we will link to the cs40lib of third party libraries. But this week, you should not need to create the primary link in your ~/cs40/labs folder. And since I did not add a lib file by default to your lab2 repo, there should be no need to remove a bad link. You just need to add one good link in your lab2 folder.
cd
cd cs40/labs   #make sure you are in labs, not lab2
cd lab2-yourTeamName   #use your team name
ln -s ../cs40lib ./lib   #pay attention to the dots
4. Running and Viewing your Lab
You will use the same process as lab1 to start a webserver with python3 and tunnel with ngrok.
To run the server, change to the directory you want to serve and run the following command using python3. Note the & at the end to run the server in the background.
cd
cd cs40/labs/lab2-yourTeamName
python3 -m http.server &
You should get a message saying
Serving HTTP on 0.0.0.0 port 8000 (http://0.0.0.0:8000/)If instead you get a long error message ending in
OSError: [Errno 98] Address already in useIt may mean someone else is running a server on the same port, possibly you. If it is you, you can either continue using the existing server, or kill the old server using
pkill python3You can also try running your server on a different port other than 8000
cd
cd cs40/labs/lab2-yourTeamName
python3 -m http.server 8080 &

Serving HTTP on 0.0.0.0 port 8080 (http://0.0.0.0:8080/)
As long as we eventually get a Serving HTTP message, we are ready to proceed to the next step
4.1. ngrok http 8000
The address http://0.0.0.0:8080/ is only usable if you are on campus and logged in directly to the machine you started the server on.
The ngrok tool will create a temporary public URL that you can use to access your webserver from anywhere. To run it, just provide the protocol and port number that your webserver is running on.
ngrok http 8000This should pop up a small display in your terminal listing a Forwarding URL.
Forwarding https://b985958321b9.ngrok.ioThe session will last at most 8 hours, or until you stop the process with CTRL-C
You should now be able to go to the link given by ngrok in a browser on your personal computer at home. If everything works, you should see the lab2 start page.
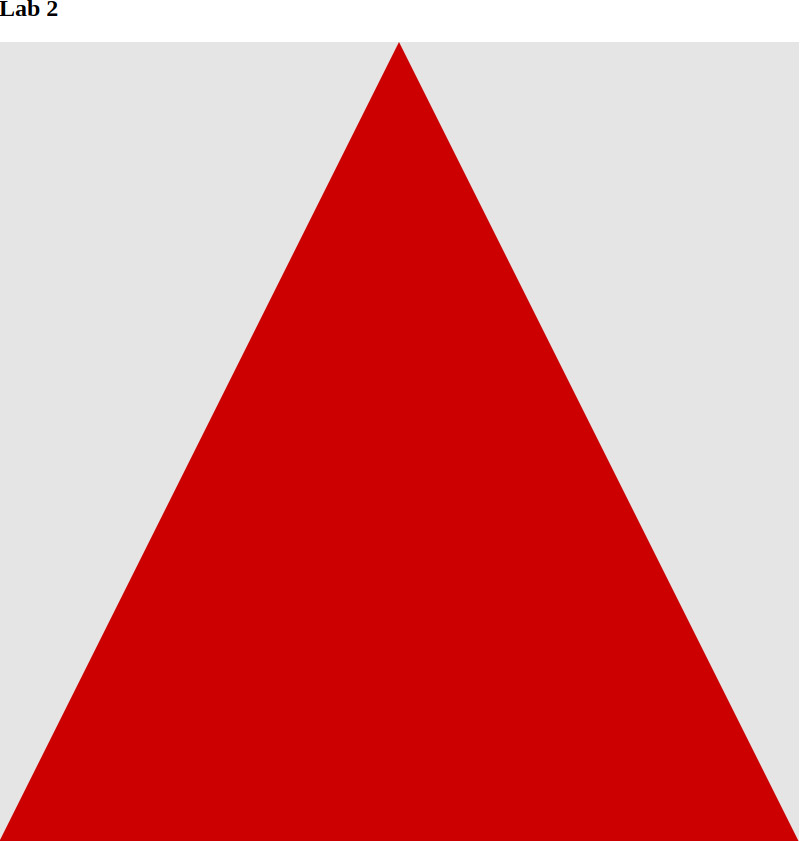
5. Adding shapes
When you first view the lab, you should see a red triangle similar to the demo of last week. The first goal of the lab is to add support for two more shapes: a square and a circle.
To add a shape, you will create new geometry on the CPU, create a new buffer on the GPU, and create a new Vertex Array Object (VAO), that will connect the buffer geometry to the input variables in your vertex shader program (currently only the vec2 a_position variable).
For the triangle, these steps have been encapsulated in the function makeTriangle in main.js. This function returns a VAO object that can be used later when the user wants to draw a triangle. The makeTriangle function is called in the init function and the VAO is stored in the global vaos object with the property name triangle. A seperate drawTriangle function knows uses this vao to render the triangle.
Inspect the code to see how the render function draws this triangle. Note there are a few more layers now compared to last week’s demo including makeScene and drawScene functions in addition to makeTriangle and drawTriangle. Think about how the main pieces fit together before making modifications.
5.1. Make a Square
Begin by adding a makeSquare and drawSquare function. The square by default should fill the entire canvas. When you think you are ready to test, begin by making a call to your makeSquare function (use the call to makeTriangle as a guide). Check the developer tools for your browser for any errors. Since you have not modified the scene yet, you should still see the triangle.
If there are no error in the developer tools, add some square properties to the makeScene function. Note that in the current example for the triangle, you are not setting any geometric or WebGL properties at this point. The variable tri is a JavaScript object containing a set of properties, one of which is the color of the triangle using the v3 module of twgl. Follow a similar pattern to create properties for the square object (just a color would suffice at this point), and add it to the scene object. You can add a new property to an existing object by specifying a new name and assigning a value.
scene.square = sq; /*you can use any property name on the left
                     the right side should match the square variable
                     object you created earlier */
Now would be a good time to run your program and check for errors.
Using the pattern of drawTriangle, write a drawSquare function that sends an appropriate vao and gl.drawArrays call to the GPU to draw your square geometry. You may want to look at the primitive modes available besides just gl.TRIANGLES. Note in the image in the link provided, the prefix GL_ is used for the primitive type. In our code, replace GL_ with gl.. Pay attention to the order of the vertices in your buffer so that layout matches that in the figure. For gl.TRIANGLES, it is expected that each triangle is oriented counter clockwise. For gl.TRIANGLE_STRIP the triangles are rendered using vertices 1,2,3 for the first triangle, 3,2,4 for the second, then 3,4,5, then 5,4,6, so each triangle rendered has a counter clockwise orientation. For gl.TRIANGLE_FAN, the triangles are rendered using vertices 1,2,3, 1,3,4, 1,4,5, 1,5,6, then 1,6,7.
Once you implement drawSquare, run and check for basic errors, even though you haven’t called this function yet.
Once you have created a square object in your scene, you can try to draw it in drawScene. Use the properties in the scene.square object to set the uniforms for your shaders. At this point, it should just be the color. The initial version of drawScene used a separate local object myuniforms to set some local uniform values, before calling twgl.setUniforms. Once you have set the uniforms on the GPU and drawn a shape, you can reuse myuniforms to set the uniforms for another shape.
The properties in myuniforms must match the names of uniforms in your shader code or otherwise the shader values will not be set. Modify drawScene to draw your square. Try changing the color of the square to something other than the color of the original triangle. Try drawing the square and then the triangle in the same function to overlay the triangle on top of the square.
5.2. Make a Circle
Repeat the process for making a square object above to make a circle object centered in the middle of the canvas and extending to the edges of your square canvas.
Here you may want to use a for loop and add a number of points along the perimeter of the circle in counter clockwise order.
\$x = \cos(\theta)\$
\$y = \sin(\theta)\$
\$0 \leq \theta \leq 2 \pi\$
JavaScript allows access to the value of \$\pi\$, and trig functions, through a small built in Math library.
You can repeatedly add values to a JavaScript array with the push() method.
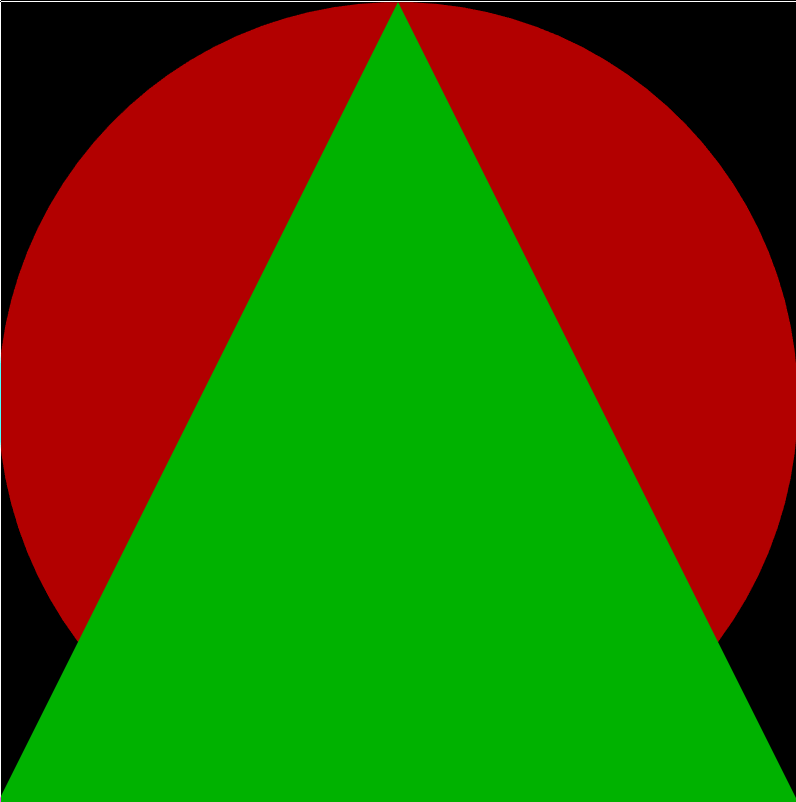
Once all three shapes are implemented, you should be able to create a scene consisting of just a single shape of an arbitrary color, or stacking all three shapes. Drawing the square, then circle, then triangle will allow you to see pieces of all three shapes.
6. Viewing Changes
If you make modifications to the files on the CS server and save them, you should be able to refresh the browser and see your changes without needing to restart the servers or ngrok tunnel. If it appears your changes are not visible in your browser, you can try a hard refresh.
7. Working in Partnership
When working with a partner, you may want to edit in one copy of the repo perhaps via Zoom or Live Share. Only one partner needs to set up the python and ngrok links and then share the ngrok url with the other partner.
Periodically, add, commit, and push your changes. Then your partner can pull your changes and you could switch roles as to who is hosting the server and ngrok session.
8. Add vshader uniform support
At this point, you can only make three large shapes and change the color of each shape independently through the uniform vec3 u_color variable in the fragment shader.
For this lab, you must add two new uniforms vec2 u_scale and vec2 u_translate to your vertex shader. These uniforms should be used to first scale the incoming a_position value of each vertex by u_scale and then shift the location of each scaled position by u_translate. The transformed vertex will be used to set the first two coordinate of gl_position.
Test your new shader by setting uniforms.u_scale = [1.,1.]; and uniforms.u_translate=[0.,0.]; in your init function. The default setUniforms in render should set these default values to a_position, leaving your scene unchanged.
8.1. Scaling and Moving objects
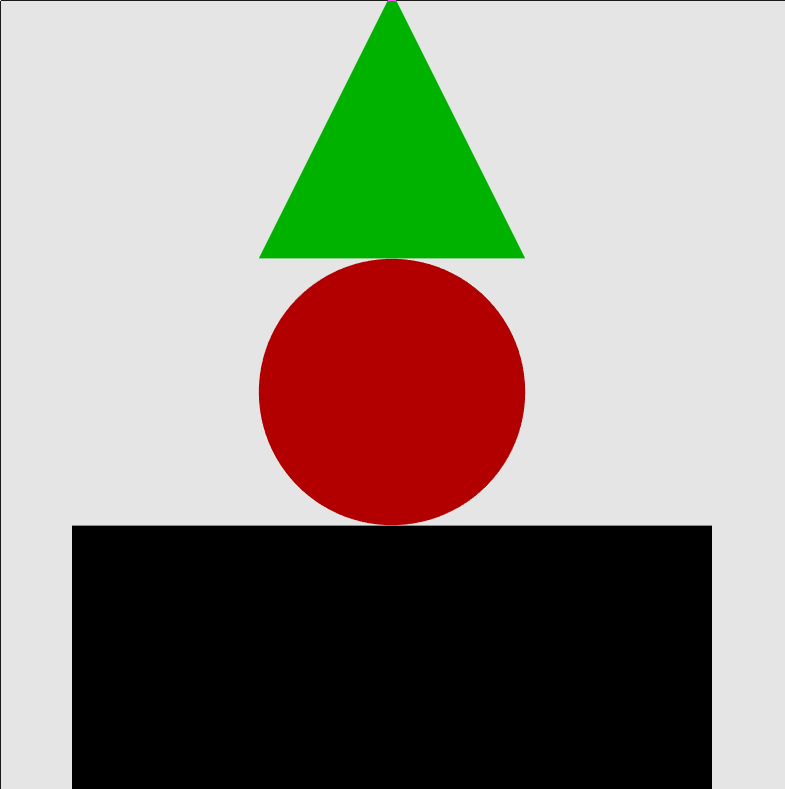
Now go back to makeScene and add some scales and translates to your objects.
At this point you are just testing. What happens if the x and y scales are different? Update your drawScene so that it inspects the scales and translates you set to each object, and sets the uniforms on the GPU appropriately. With these added uniforms you should be able to draw e.g, a small box with a circle above it.
9. Construct and animate a scene
You should now have the ability to create circles/ovals, squares/rectangles, and isosceles triangles of various sizes and colors anywhere on the screen. Use your tools to construct a scene containing at least five objects. Use at least two shape styles and at least two colors. In makeScene you will be making objects or lists of objects, or objects containing lists of objects. Each object describing a shape should set properties for its color, scale, and position. You can use loops and the safeCopy function to make clones of a shape and change only a few properties of the clone.
In drawScene, you can traverse the scene object you created however you’d like, and render the objects contained within the scene.
9.1. Add an animated effect
Your scene should contain at least one animated effect. The drawScene function is passed one argument time that contains the number of seconds
since the page was most recently loaded. You can use this value directly to adjust some properties of your scene, or check to see if enough time has passed since the last animation update and count motion in discrete ticks.
function drawScene(time){
  /* varies between 0 and 1 every second */
  let t = 0.5*(1+Math.sin(Math.PI*time));
  ...
}
/* declared in global scope */
let ticks = 0;
let lasttime = 0;
function drawScene(time){
if (time - lasttime < 0.1){
return;
}
ticks = ticks + 1;
lasttime = time;
/* update no more than once every 0.1 seconds */;
}Your animation could change the color, scale, or position of one or more shapes over time. The design is up to you. Be creative and explore.
10. Closing the Web Server
When you are finished with a session, be sure to close your ngrok and python3 session. ngrok is likely running in the foreground and can be stopped using Ctrl-C.
You can stop all your python3 jobs using
pkill -u adanner python3replacing adanner with your username.
11. Summary of Requirements
Your project will be graded on the following components:
-
Support for isosceles triangles, squares, and circles.
-
Default shapes should touch the edges of the canvas
-
Ability to change the color, scale, and position of any shape
-
A scene of your own design containing at least five objects, two shapes, and two colors
-
At least one animated object in the scene.
-
Answer to concept questions in the
Readme.mdfile. -
A small percentage of your grade will be based on style, and creativity. Have fun and explore.
You will not be graded on the lab survey questions in the Readme.md file
Submit
Once you have edited the files, you should publish your changes using add, commit and push.
The git push command sends your committed changes to the github server. If you do not run git push before the submission deadline, I will not see your changes, even if you have finished coding your solution in your local directory.
If you make changes to files after your push and want to share these changes, repeat the add, commit, push loop again to update the github server.
If you want to commit changes to files that have already been committed to git once, you can combine the add and commit steps using
$ git commit -am "bug fix/updates"The -a flag will automatically add files that have been previously committed. It will not add new files. When in doubt, use git status, and please do not use git add * ./
Please do not add your symlink to the cs40lib folder. I have it set to be ignored, and it may create conflicts if partners are working on different personal computers.