CS21 Lab 11: Bug Graphics
Run update21 to create the cs21/labs/11 directory. Then cd into your cs21/labs/11 directory and create the python programs for lab 11 in this directory.
- learn to create objects with instance variables (also called data members) and methods
- use incremental development and testing to implement a class
- understand the interface between the class writer and the class user
For this lab we will use object-oriented programming and the Zelle graphics library to create a Bug Class. The bug we draw will be similar to what we created in lab 6 (busybugs). However, we will now make Bug objects, adding attributes and methods that allow the bugs to draw lines by crawling around in the graphics window.
In the above animation, we create a bug and use it to draw lines. Unlike our
lab 6 bugs, the bug here has a heading (e.g., 90 degrees) and a pen that can be raised
and lowered. When the bug moves and the pen is down, a line is drawn. Additionally,
since the bug object has a heading, we can just move the bug "forward" in
whatever direction it is heading. This can make drawing some shapes much easier.
For example, a square can be drawn by simply repeating these commands four times:
move forward a certain amount, turn left 90 degrees. How do you think we can get
the bugs to draw a circle?
The bug class, which you will define in the file bug.py, allows the user to create a bug at a given point, with a given size. The constructor should take care of drawing the bug in the given window.
cp ../06/busybugs.py .
If you don't want to use your bug from lab 6, we've provided a really simple program (simplebug.py) in your lab 11 directory that you can use for this lab.
If you decide to copy code from one file to another, see this help page on how to copy code in vim.
Here's the full description of the Bug class, which we will write incrementally in the next few sections of this lab:
    class Bug(object)
     |  bug class used for drawing
     |
     |  Methods defined here:
     |
     |  __init__(self, win, cp, size)
     |      create bug of given size, at cp, and draw in given window
     |
     |  face(self, newHeading)
     |      turn bug to face new heading
     |
     |  forward(self, dist)
     |      move forward by dist
     |
     |  getHeading(self)
     |      get current heading
     |
     |  getPenDown(self)
     |      get current state of pen (True means pen is down)
     |
     |  setPenDown(self)
     |      change state of pen (lower the pen)
     |
     |  setPenUp(self)
     |      change state of pen (raise the pen)
     |
     |  translate(self, dx, dy)
     |      move bug by given dx and dy (no matter what heading is)
     |
     |  turn(self, angle)
     |      rotate bug (all parts) by given angle
Start by writing the constructor (__init__), which should declare and initialize all data needed to maintain a Bug object. For now (we will add more later), you should store the list of circle objects and the graphics window.
Once you have __init__ written, add some test code at the bottom of your class to create two bugs of different sizes:
def main():
  # set up graphics
  width = 500
  height = width
  gw = GraphWin("bug class tests", width, height)
  gw.setBackground("darkgreen")

  # create two bug objects
  cp = Point(width*.5, height*.5)
  radius = width/35.0
  b1 = Bug(gw, cp, radius)
  cp.move(4*radius,0)
  b2 = Bug(gw, cp, radius/2)
  gw.getMouse()

if __name__ == "__main__":
  main()
For these bugs, we always want to keep track of which way they are facing (i.e., their heading). For our graphics window, a heading of 0 is to the right, 90 is down, 180 is to the left, and 270 is toward the top of the window. So turning by a positive amount is a clockwise turn, and by a negative amount is a counter-clockwise turn.
To add the ability to turn the bugs, here's what we need to add to the class:
- add a self.heading instance variable (to __init__), initialized appropriately for however you create your bugs (i.e., set to 0 if your bugs initially face right)
- add a turn(angle) method that turns the bug by the given angle (and updates the bug's heading). This method is identical to our spinBug() function from lab 6, except it uses and modifies the bug object's instance variables (also called data members).
This is a good time to add some more test code and make sure your bugs turn correctly!
gw.getMouse() # wait for user click
b1.turn(90)   # turn clockwise by 90 degrees
gw.getMouse() # wait for user click
b1.turn(-90)  # turn counter-clockwise by 90 degrees
- add a getter method for the bug's heading (just returns the bug's current heading)
- add a face(newheading) method to change the bug's heading. Note, this method should figure out the angle between the bug's current heading and the new heading, then call the bug's turn(angle) method (i.e., self.turn(angle)) to actually turn the bug and change it's heading. For example, if I want the bug to face the bottom of the window (newheading = 90), and it's current heading is 180, then I want to turn the bug -90 degrees (new heading - current heading)
Again, add some test code and make sure these methods work!
Since we now have a getter method, you could add assert() statements to your test code, to make sure the heading is correct after a turn, like this:b1.face(90) # bug should now face bottom of window assert(b1.getHeading() == 90) b1.turn(45) # bug should turn 45 degrees clockwise assert(b1.getHeading() == 135)
Remember, the assert() should display no output if the test passes, but crash with an AssertionError if the test fails.
If you want, you could also add an __str__ method that, when a bug
object is printed, displays the bug's heading.
Once you have bugs that can turn, add the translate(dx,dy) method.
This one is identical to the lab 6 crawlBug(dx,dy) function (i.e., it
moves all parts of the bug by dx,dy), except it now modifies the bug
instance variable (the list of circle objects).
Add some test code and make sure translate(dx,dy) works!
b1.translate(100,0) # should move whole bug 100 to the right
Now add the ability to draw a line when the bug moves. For this, we need to first check if the pen is up or down. Then, if it is down, save the starting point (before the bug is translated), then translate the bug, and (if the pen is down) finally create and draw a line from the starting point to the current point. Here's what you need to do:
- add a self.pendown instance variable (a boolean) that tells whether the pen is up or down
- also add setPenUp() and setPenDown() methods that change the self.pendown instance variable
- finally, modify translate(dx,dy) to draw a line based on the self.pendown instance variable (if the pen is down, draw a line when translating)
We already have a way to move the bug (translate), but we would like to be able to just move the bug "forward" a certain amount, in whatever direction it is currently facing. This method should use trigonometry to figure out how far in the x and y directions to move, based on the distance to move and the heading. Then, once we know how far to move, we can just use the translate method (i.e., self.translate(dx,dy)).
Here's the math we need to calculate dx and dy, given a distance and a current heading:
from math import *

r = radians(self.heading)
dx = distance * cos(r)
dy = distance * sin(r)
Add *more* test code and make sure forward(distance) works!
What do you think the following will do?for i in range(4): b1.forward(200) b1.turn(90)
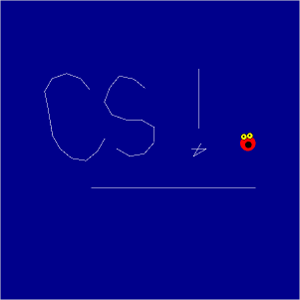
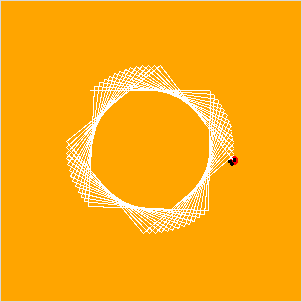
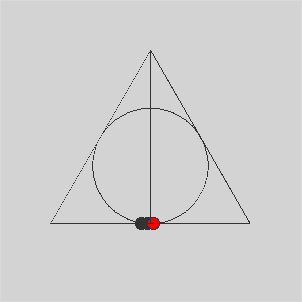
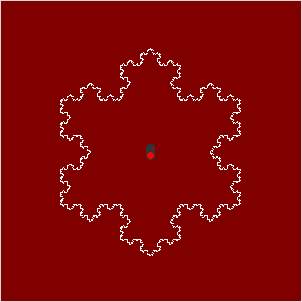
Write a separate program that imports the bug class and uses it
to draw one of the following pictures. Click on each picture for
hints on how to draw the picture.
Once you are confident that your program works, fill out the questionnaire in README-11.txt.
Then run handin21 one final time to make sure we have access to the most recent versions of the files required for this lab.