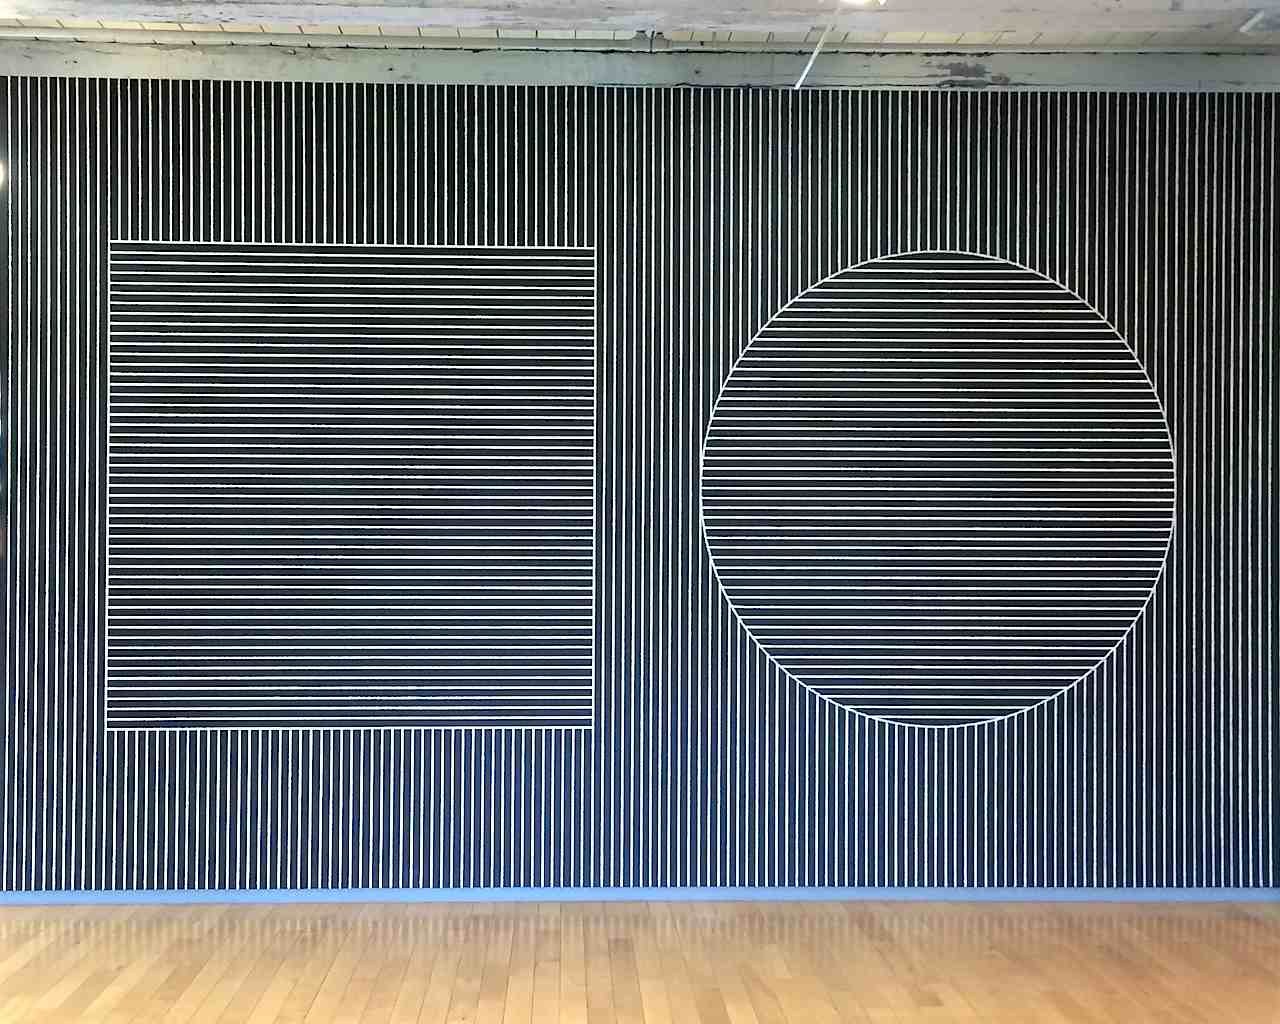
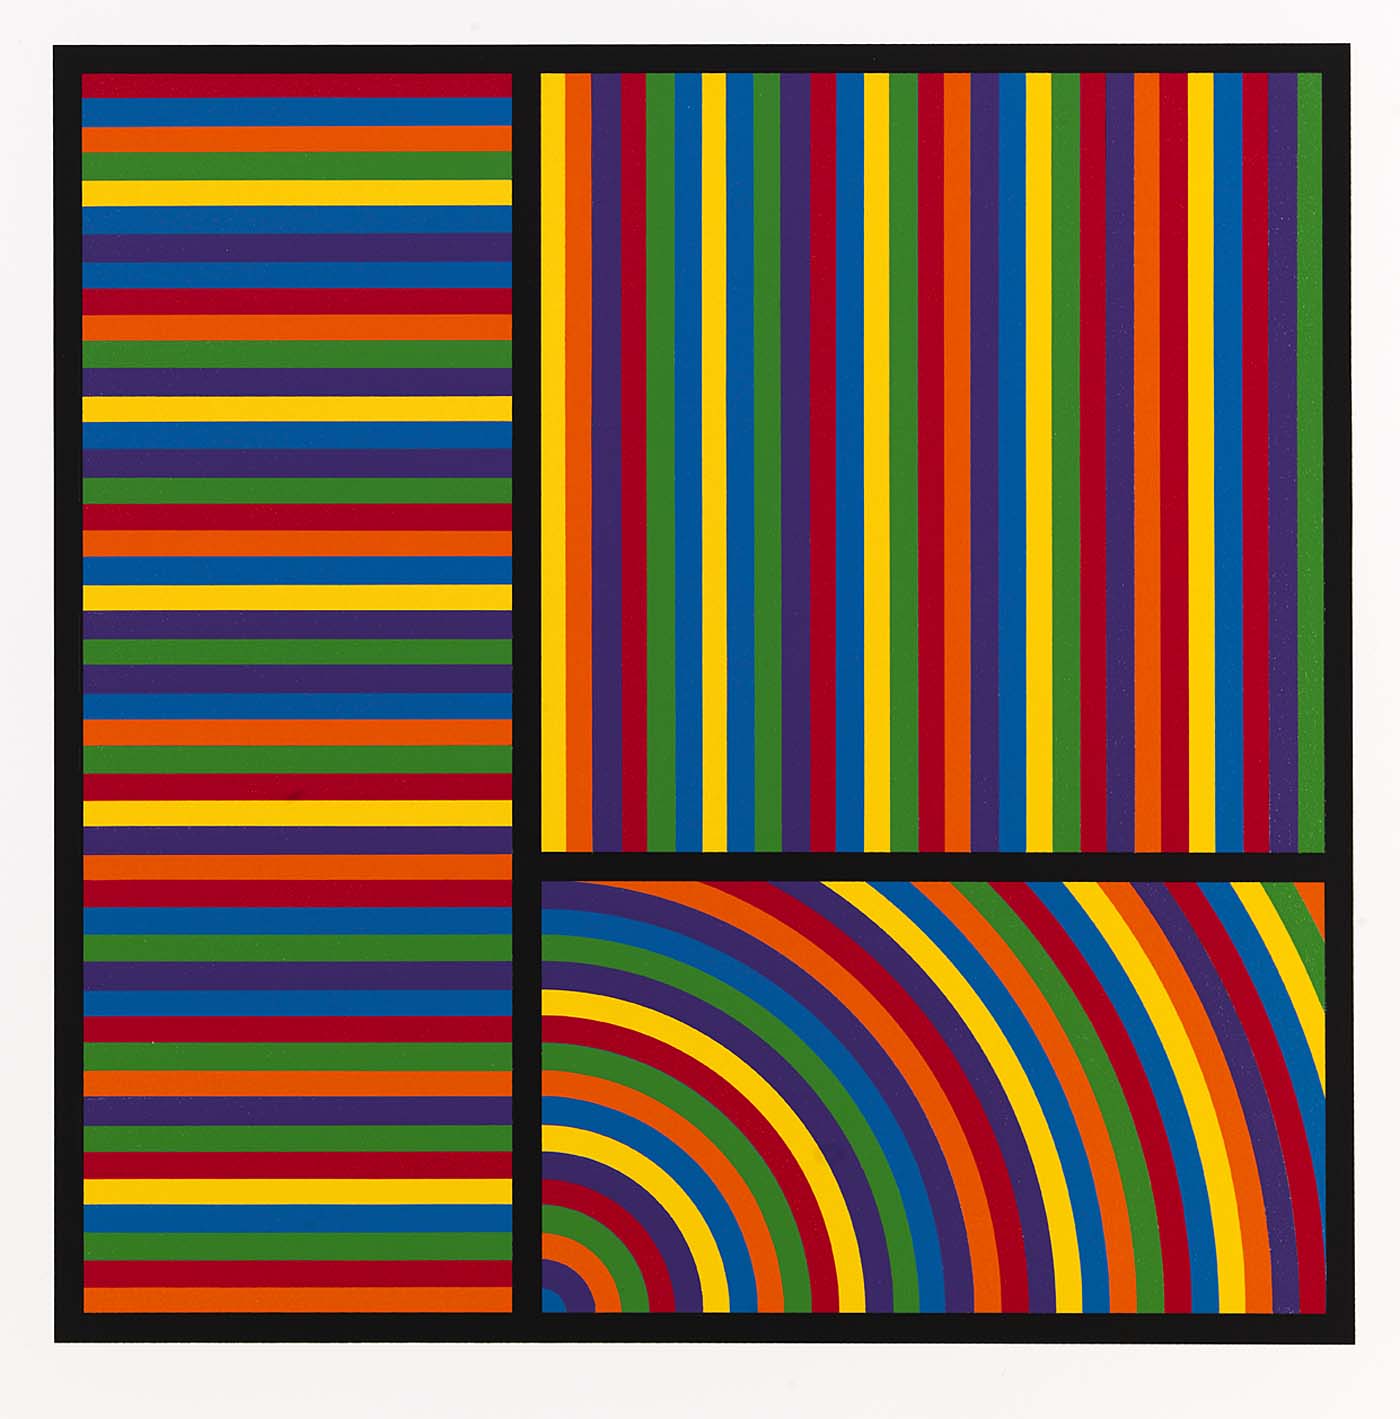
width and height, then specify positions, sizes, lengths, etc. in relation to the width and heightinput() to ask the user for input, doing that before setting up the graphics window is often easier (less clicking back and forth between windows)update21 and put your programs in your cs21/labs/05 directoryIn this first program you'll create a geometric artwork, like the ones by Sol LeWitt. In the file lineart.py, create a program that displays the left-hand side of the image below. This work is currently displayed in the MASS MoCA.
Here are a few steps and suggestions to help you get started. We recommend creating a diagram on paper first - mark the x-axis and y-axis, then write down the (x,y) coordinates of the endpoints of each line.
In this question we will always have a square window. To start, you can hard-code the size (here I used 400), but eventually we will make this flexible.
It may look like the shape below is formed from adjacent rectangles, but think about how to use lines instead. You can change the thickness of a line (or any outline) using the setWidth(..) method.
Set up a variable for the separation between adjacent lines (here I used 10). This can be constant no matter what the window size.
Based on the window size and the separation between each line, think about how many lines should be drawn. Set up a for loop to create a series of vertical lines as shown below:
$ python3 lineart.py
Enter the window size: 400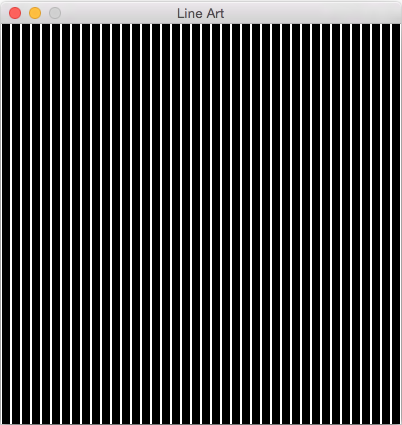
I used a line width of 2 for both the lines and the rectangle outline, but feel free to modify this, or change the color of the background or the lines. Next, create a square in the middle of the drawing (the relative size of the square is up to you):
$ python3 lineart.py
Enter the window size: 400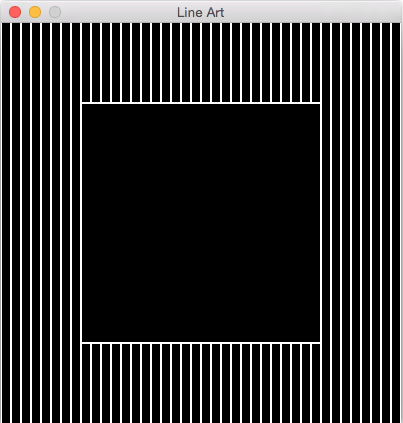
Create a series of horizontal lines across the square using another loop:
$ python3 lineart.py
Enter the window size: 400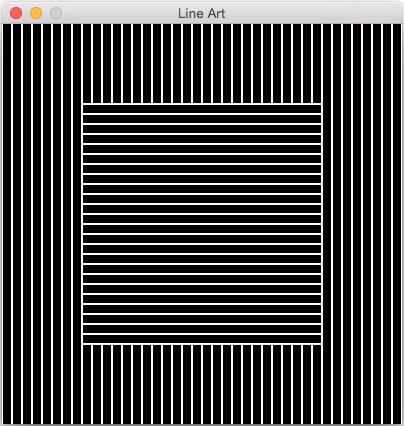
Finally, allow the user to determine the size of the square window, and make your code flexible enough to resize the drawing to accommodate the new size. Here are a few examples:
$ python3 lineart.py
Enter the window size: 100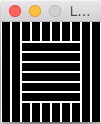
$ python3 lineart.py
Enter the window size: 600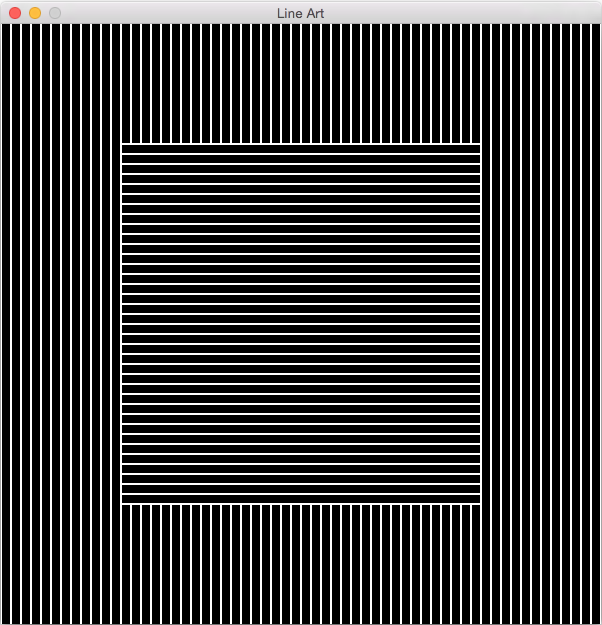
Here the line separation is constant, but the number of lines changes depending on the window size.
First option: reproduce the entire painting above (not just the square but the circle too).
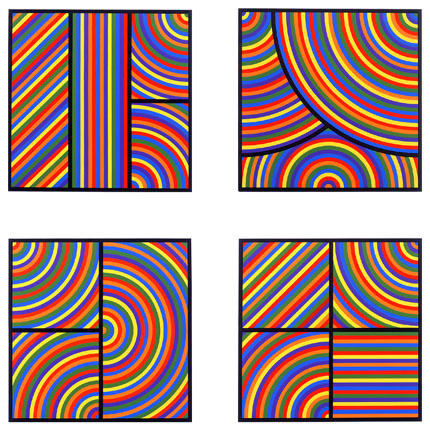
Second option: here are a few other Sol LeWitt paintings to reproduce / modify if you are interested. Feel free to use these as inspiration to create your own geometric painting with your own color scheme.
Write a program called night.py that generates an animated night sky, using mouse-clicks from the user. Here is an example:
Here are the requirements and some tips for this program:
Create a fixed ground using a Rectangle (not based on user clicks).
Create and update a Text object that tells the user what to do in each step. The setText(<string>) method can be used to change the text at each step. The input string can also be the empty string.
Create a function that makes and draws one star at a given Point. Your star does not have to look exactly like these stars, which are created using a Polygon object. Instead you could use 2-4 crossing lines, or two triangles, one upside down and one right side up. Feel free to create another object instead of a star (plane, bird, UFO, etc, as long as it is not a single built-in graphics shape like a Circle or Rectangle).
In main(), use a while loop to let the user click to create multiple stars. Whenever the user clicks, call your star function and pass the user's click Point as an argument. When the user clicks on the ground, the while loop should end.
After the user clicks the ground, create a moon (Circle) based on the user's next click. Then create a Circle next to the moon that is the same color as the night sky. This "cover" will be used to simulate the "phases of the moon".
When the user clicks to animate, make the "cover" move across the moon using a for loop.
Finally, when the user next clicks, exit and close the window.
There are many ways to extend this animation. You could use different colors to create a different scene, or make the scene simulate a solar eclipse where the moon passes over the sun. One step further, when the sun's light is being blocked out, make the entire picture fade to dark and back to light again.
You could also add more options (through functions) for the user's clicks. Maybe for a while the user could create objects on the ground (trees, etc), or maybe the sky is over an ocean with fish. Or you could make an animated sunrise / sunset.
Each lab has a short questionnaire at the end. Please edit the QUESTIONS-05.txt file in your cs21/labs/05 directory and answer the questions in that file.
Don't forget to run handin21 to turn in your lab files! You may run handin21 as many times as you want. Each time it will turn in any new work. We recommend running handin21 after you complete each program or after you complete significant work on any one program.