CS21 Lab 5: Image Filtering
In this lab, we’ll write image filters. These programs will
manipulate digital images at the pixel level. Along the way, we will
practice nested for loops, functions, and think about how color is
represented on computers.
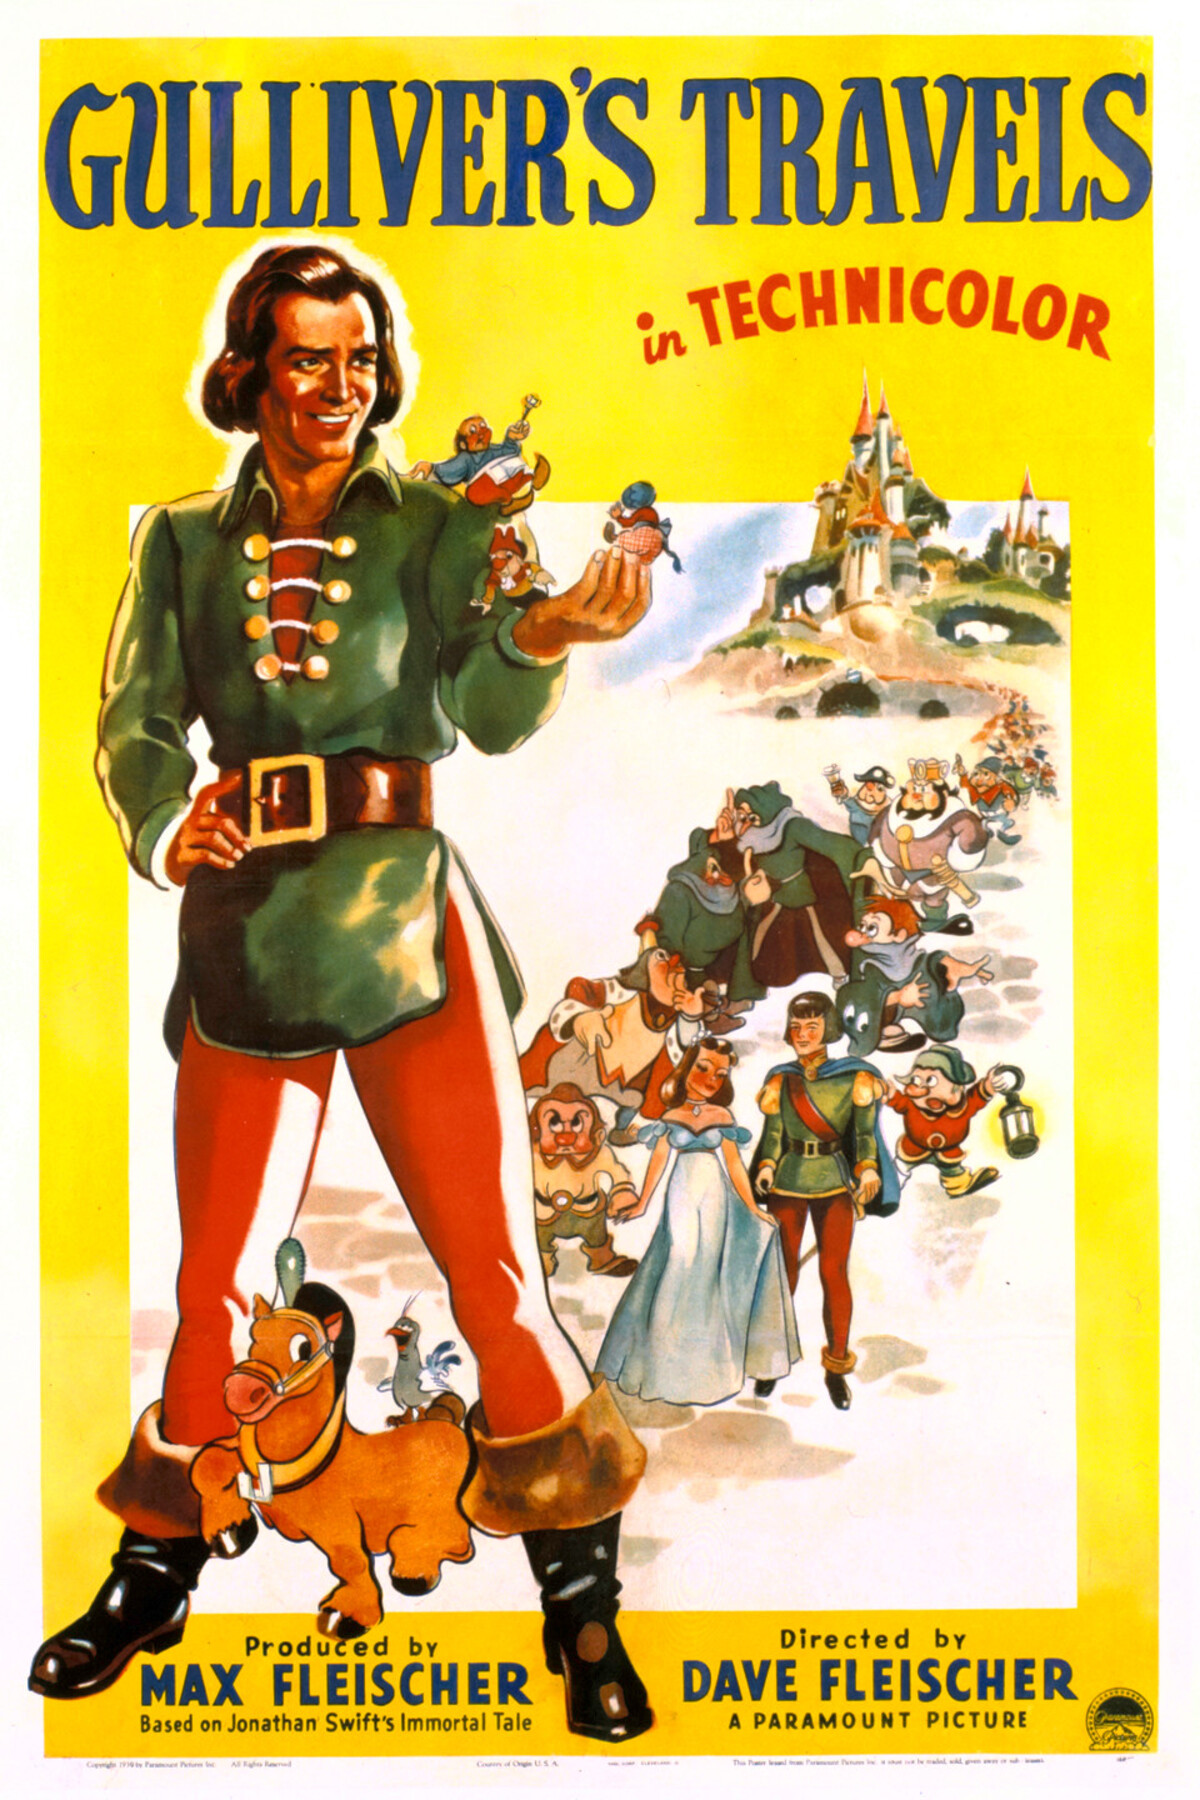
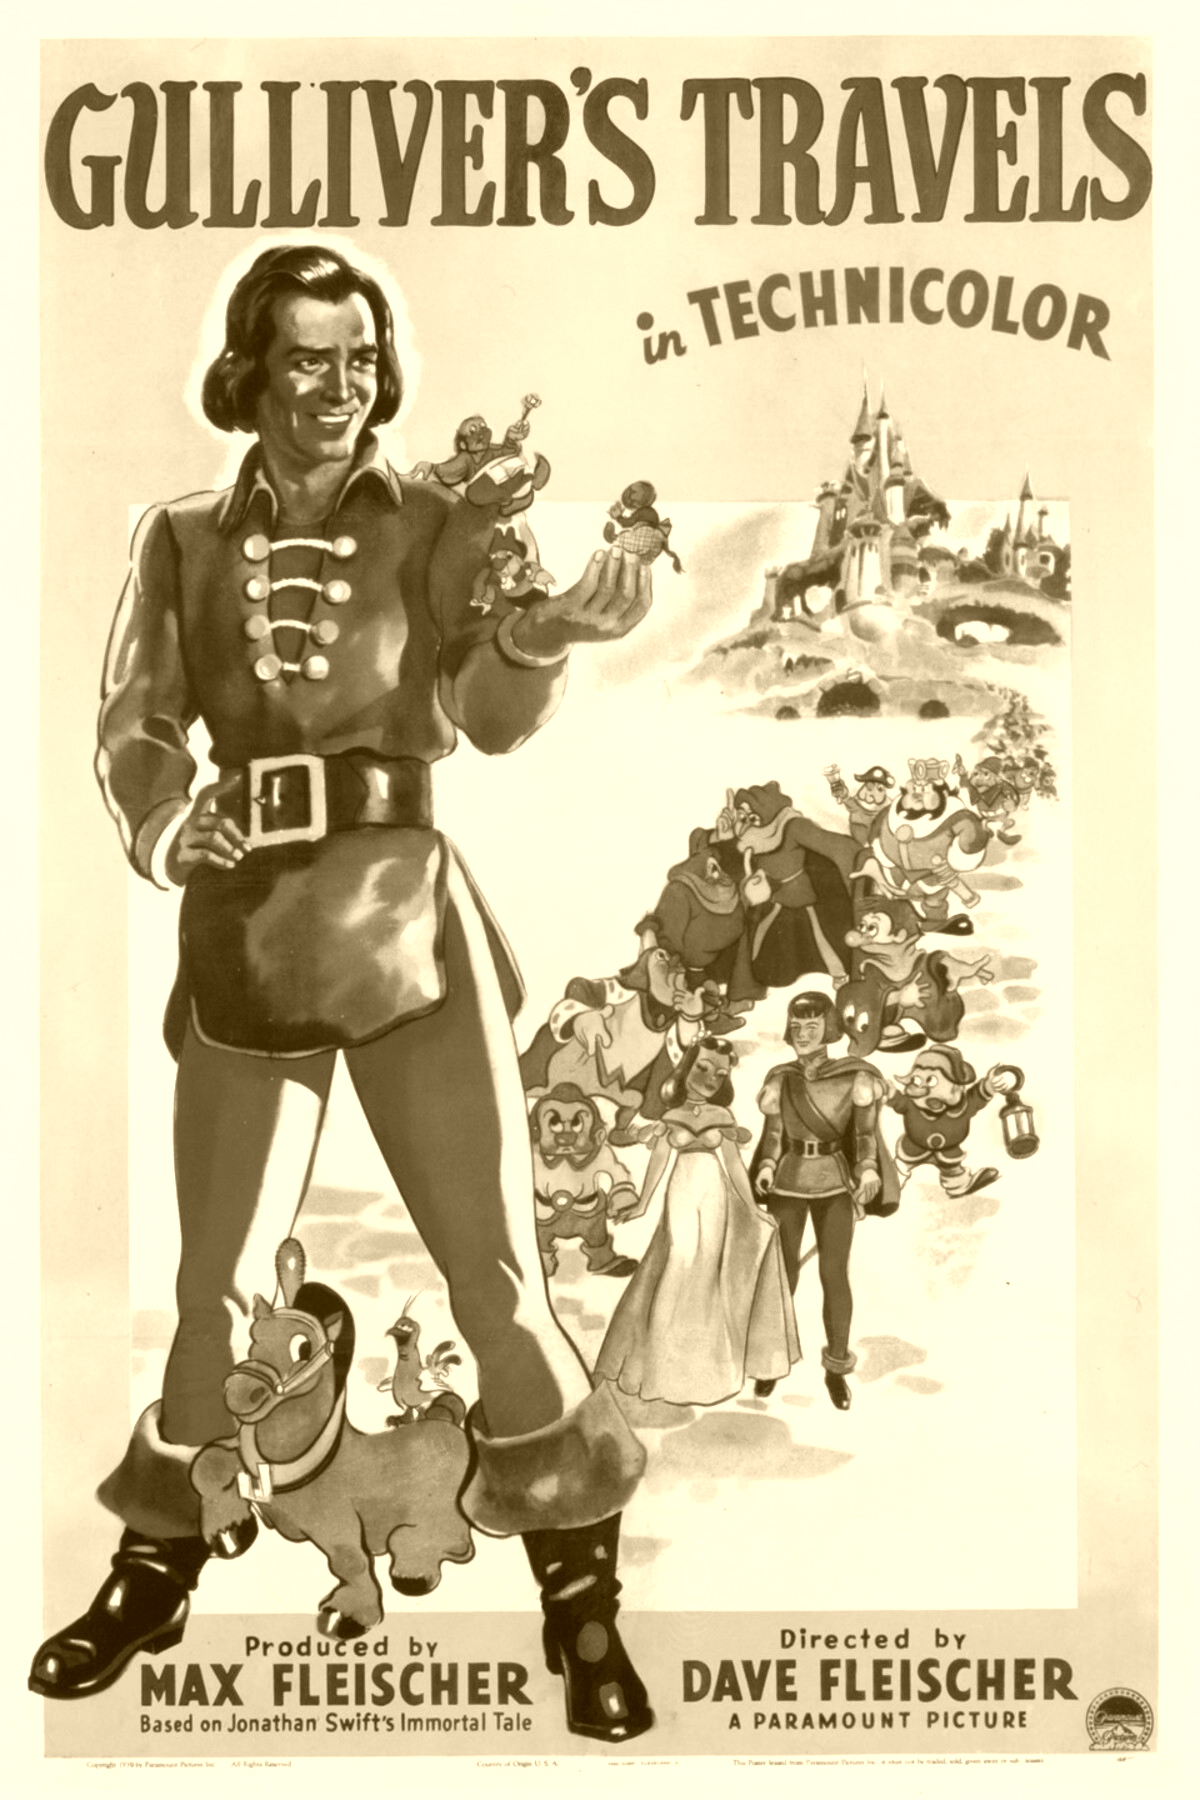
In this lab, we will use "Gulliver’s Travels" (1939) as an example. This movie is the second ever animated movie in Technicolor (after "Snow White") and is in the public domain. You are encouraged to try out the filters on your own images as well, but we’ll test your code on the supplied image.
Due October 8, by midnight
Are your files in the correct place?
Make sure all programs are saved to your cs21/labs/05 directory! Files
outside that directory will not be graded.
$ update21
$ cd ~/cs21/labs/05
$ pwd
/home/username/cs21/labs/05
$ ls
Questions-05.txt
(should see your program files here)
Goals
The goals for this lab assignment are:
-
Use images as input to, and output from, our programs
-
Learn to iterate over images using
forloops -
Practice using nested
forloops -
Practice writing functions
-
Work with
Imageobjects -
Use methods and constructors
Image Processing
For this lab we’ll use the Image library in Python (python3) for its
graphics rather than Processing. Digital images are a collection of
pixels. Each pixel has a red, green and blue value that typically
range between 0-255. The following facilities are used to manipulate
images and their pixel values in this lab.
Image
from image import Image

img = Image("FILENAME")      # load an image
img = Image(width, height)   # create a (width x height) blank image
img.getWidth()               # width of the image
img.getHeight()              # height of the image
img.save("FILENAME")         # save the image
c = img.getPixel(x, y)       # return [r,g,b] color at (x, y)
img.setPixel(x, y, c)        # change the color at (x, y) in img to c
1. Warm-up: negate
Note that this warm-up is not optional. You must complete it before continuing to the next sections.
You are provided with the filter.py program shown below.
from image import Image
def negate_pixel(img, x, y):
''' return the inverted color of (x,y) in img'''
c = img.getPixel(x, y)
nc = [255 - c[0], 255 - c[1], 255 - c[2]]
return nc
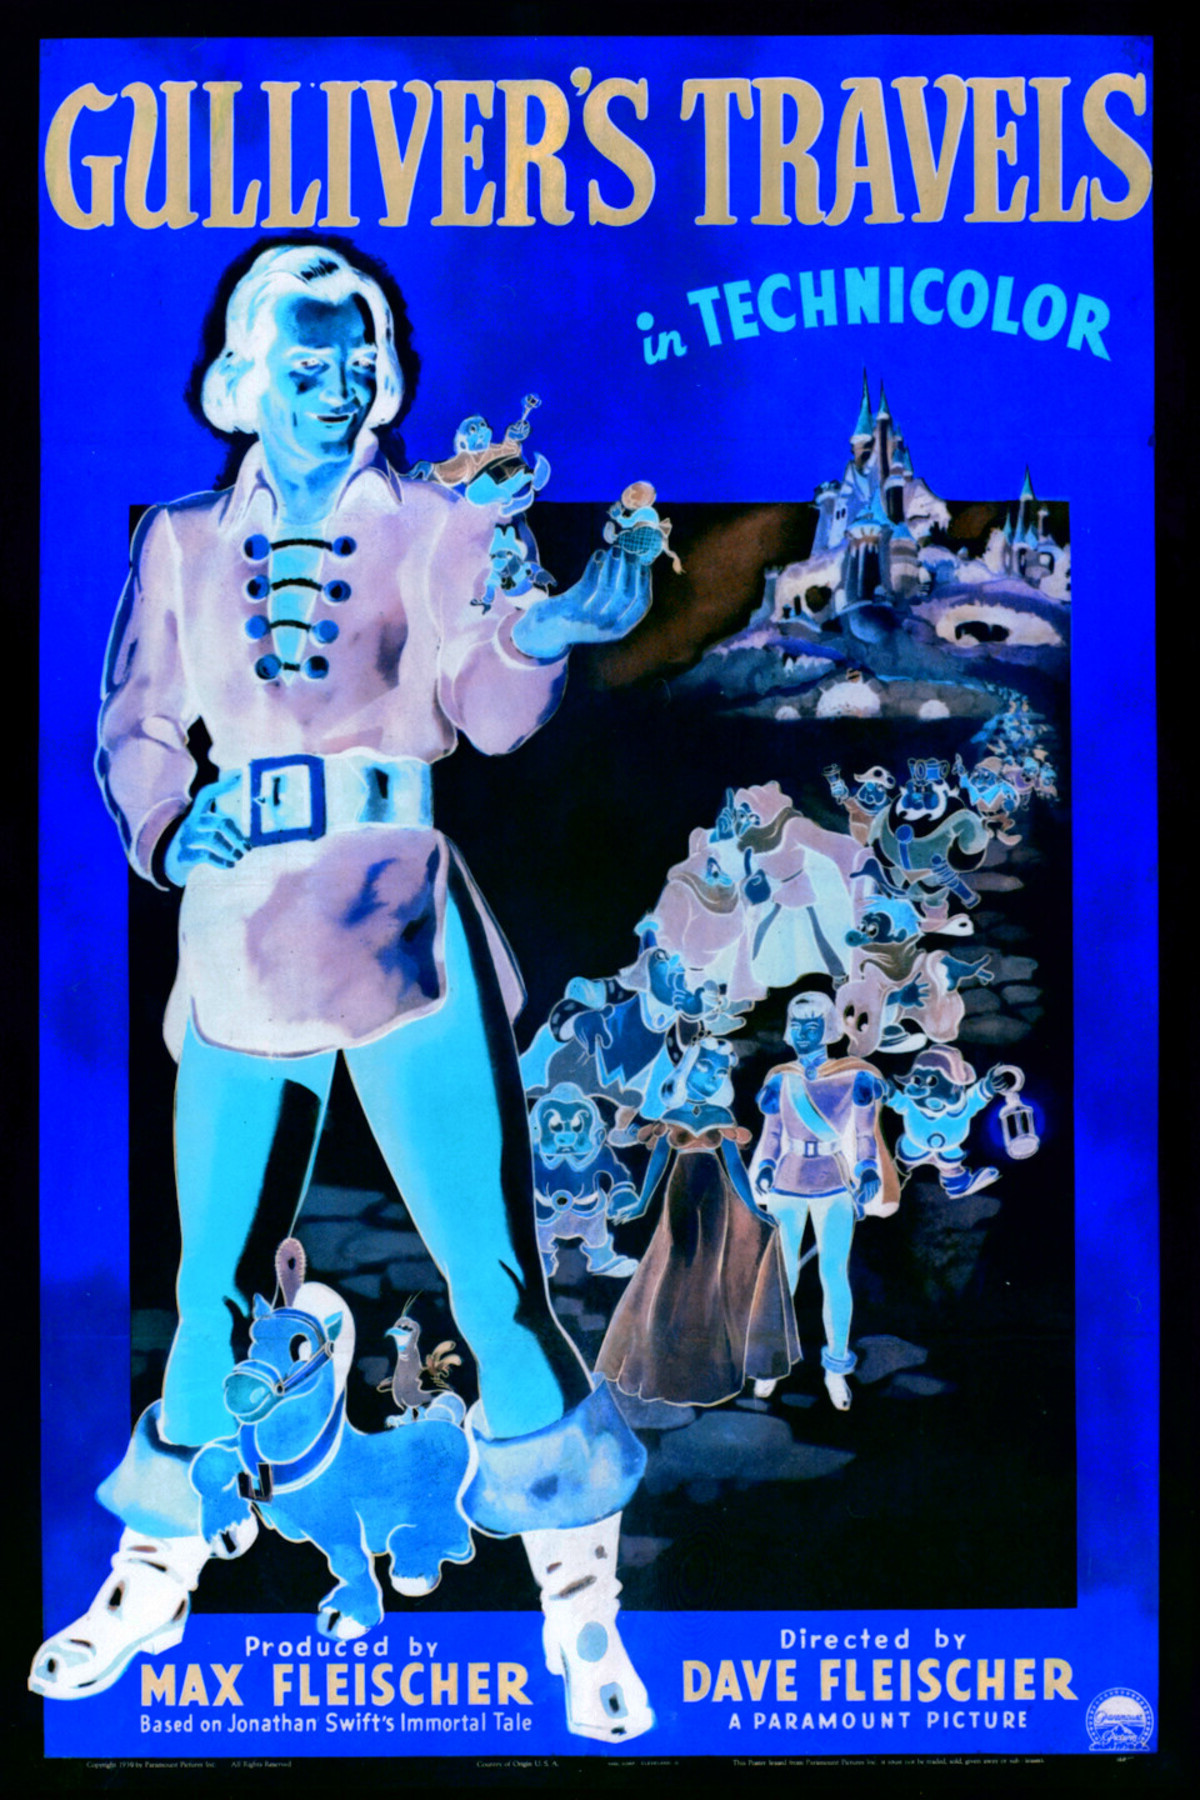
def negate(img):
''' negate the img '''
for y in range(img.getHeight()):
img.setPixel(200, y, negate_pixel(img, 200, y))
img.setPixel(201, y, negate_pixel(img, 201, y))
img.setPixel(202, y, negate_pixel(img, 202, y))
img.setPixel(203, y, negate_pixel(img, 203, y))
img.setPixel(204, y, negate_pixel(img, 204, y))
img.setPixel(205, y, negate_pixel(img, 205, y))
img.setPixel(206, y, negate_pixel(img, 206, y))
img.setPixel(207, y, negate_pixel(img, 207, y))
img.setPixel(208, y, negate_pixel(img, 208, y))
img.setPixel(209, y, negate_pixel(img, 209, y))
img.setPixel(210, y, negate_pixel(img, 210, y))
img.setPixel(211, y, negate_pixel(img, 211, y))
img.setPixel(212, y, negate_pixel(img, 212, y))
img.setPixel(213, y, negate_pixel(img, 213, y))
img.setPixel(214, y, negate_pixel(img, 214, y))
img.setPixel(215, y, negate_pixel(img, 215, y))
img.setPixel(216, y, negate_pixel(img, 216, y))
img.setPixel(217, y, negate_pixel(img, 217, y))
img.setPixel(218, y, negate_pixel(img, 218, y))
img.setPixel(219, y, negate_pixel(img, 219, y))
img.setPixel(220, y, negate_pixel(img, 220, y))
def main():
img = Image("/data/cs21/gulliver/poster.png")
negate(img)
img.save("negate_strip.png")
main()The main function loads an image /data/cs21/gulliver/poster.png that is 300 pixels wide and 450 pixels high. Then, the negate function is called, which negates a 21 by 450 strip of the image. Finally, the image is saved to the file negate_strip.png. The resulting negate_strip.png file is shown below.

To run then program and then display the output, you can use these commands:
$ python3 filter.py
$ display negate_strip.png   # will show the image above
|
Viewing images in Visual Studio Code
Visual studio code allows you to preview images using the 'Explorer' when you open up the folder. |
This warm-up has two parts:
-
Modify the
negatefunction so that it negates the whole image (as shown below) -
Modify the
negatefunction so that it returns a new image rather than mutating the original input image. Use theImage(width, height)constructor to make a new Image of the same size as the original image.
If you wrote the negate function properly, your main function should work like this:
def main():
    # read in the input image, i_img
    i_img = Image("/data/cs21/gulliver/poster.png")

    # create the output image, o_img
    o_img = negate(i_img)
    o_img.save("negate_gulliver.png")
2. Gray Scale
Continue using the filter.py file for the rest of the lab. Put your solutions to this function
and all other functions you write in this file.
In this part of the lab, you will write a function called grayscale(img) that returns
a new image that is a gray scale version of the input image. To help you write that,
we have provided the function rgb2gray below.
2.1. rgb2gray
One way to turn a RGB color to gray scale is to average all three
channels equally (r+g+b)/3, or 0.333 * r + 0.333 * g + 0.333 * b,
as seen in the image below. The function rgb2gray(c), shown below,
converts a color, in the form of an [r, g, b] list, into a
gray "color".
def rgb2gray(c):
''' given a color (list of RGB), return the gray scale color '''
r = c[0]
g = c[1]
b = c[2]
gray = int((r + g + b) / 3)
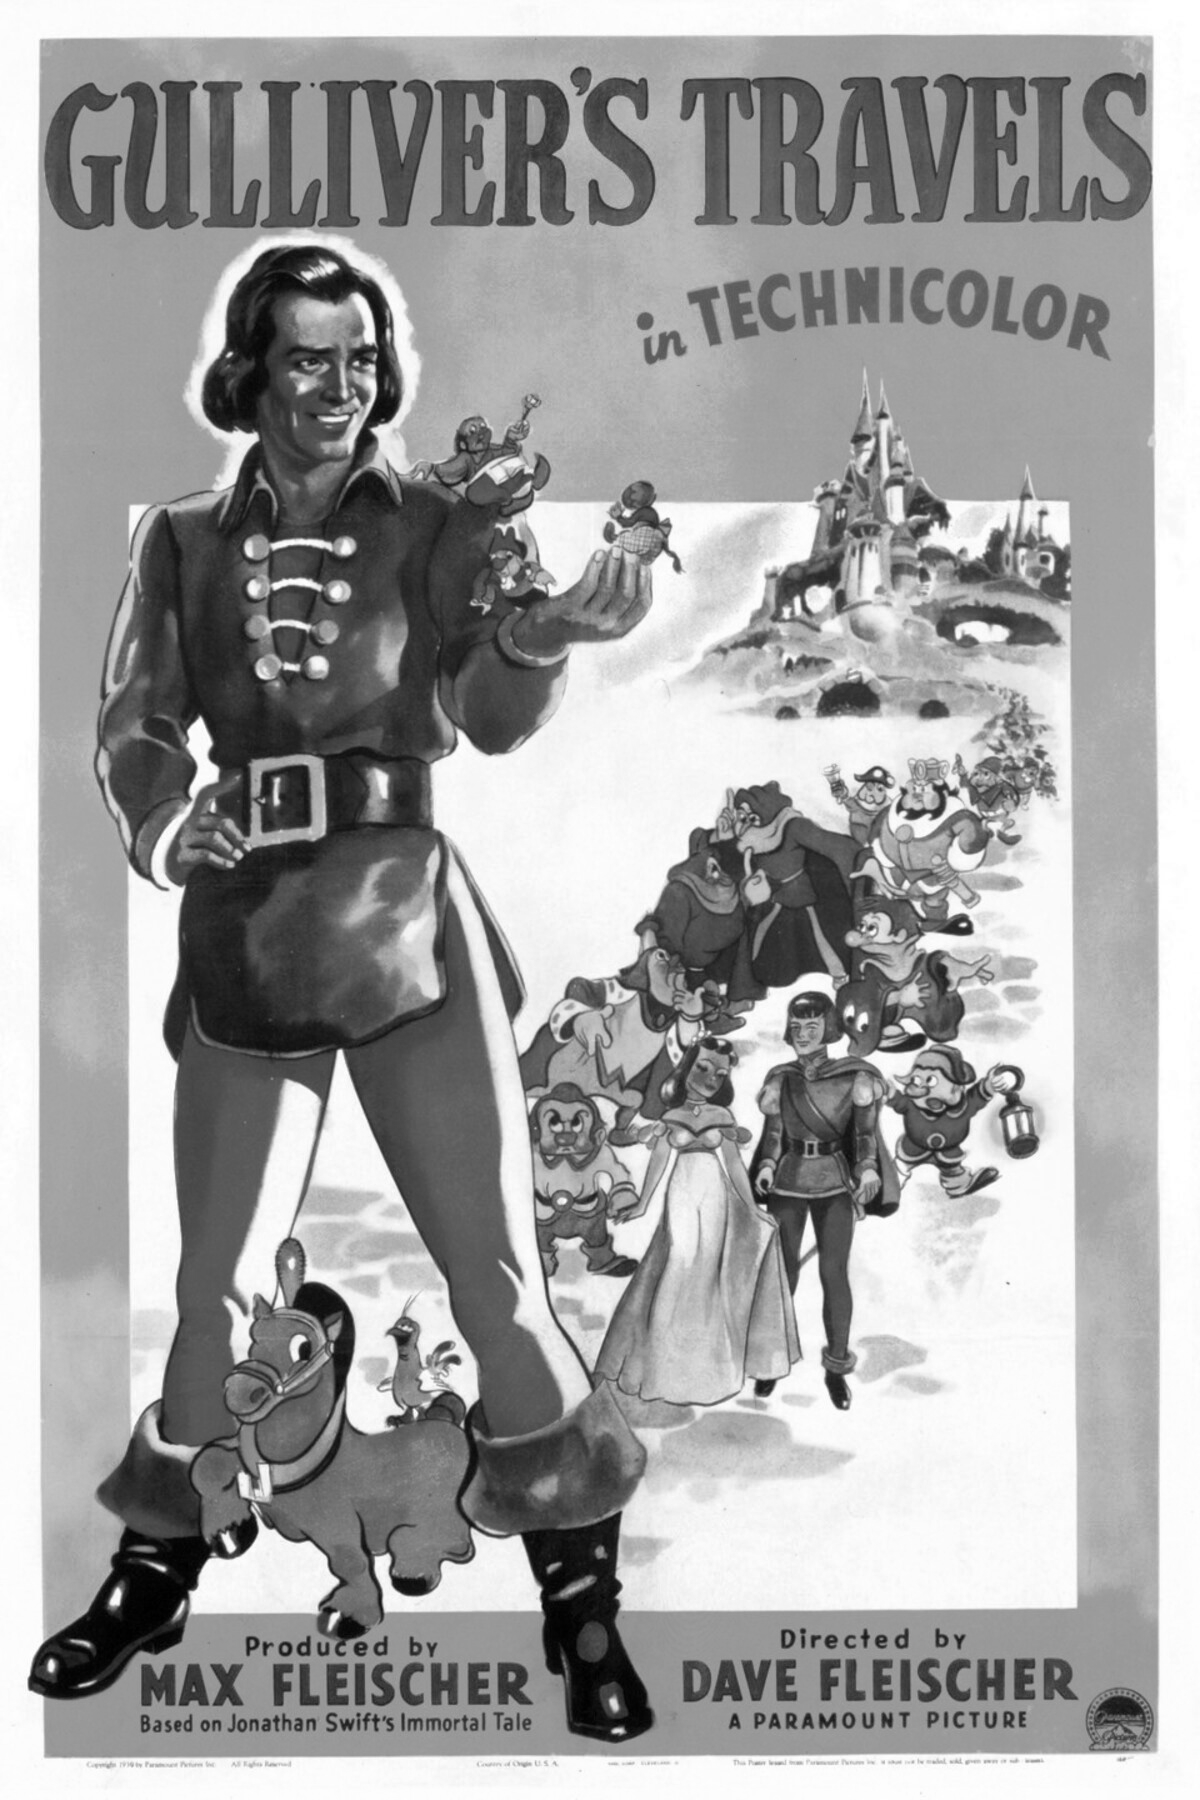
return [gray, gray, gray]2.2. grayscale
Write a function grayscale(img) that uses the rgb2gray function to produce
a grayscale version of the image such as the one shown below.
0.333 * r + 0.333 * g + 0.333 * b
def main():
    i_img = Image("/data/cs21/gulliver/poster.png")

    # You may want to comment out pieces of code from previous
    # sections as you work. After this example, our demo code
    # will intentionally hide previous code from main in order
    # to make it more readable, and to test solely our new functions.
    # o_img = negate(i_img)
    # o_img.save("negate.png")

    o_img = grayscale(i_img)
    o_img.save("gray_gulliver.png")

main()
2.2.1. (Optional) Grayscale that matches human perception
Rewrite rgb2gray to use a more accurate calculation for
how brightness is perceived by human eyes: 0.2125 * red + 0.7154 *
green + 0.0721 * blue, as seen in the updated gray scale image below.
0.2125 * r + 0.7154 * g + 0.0721 * b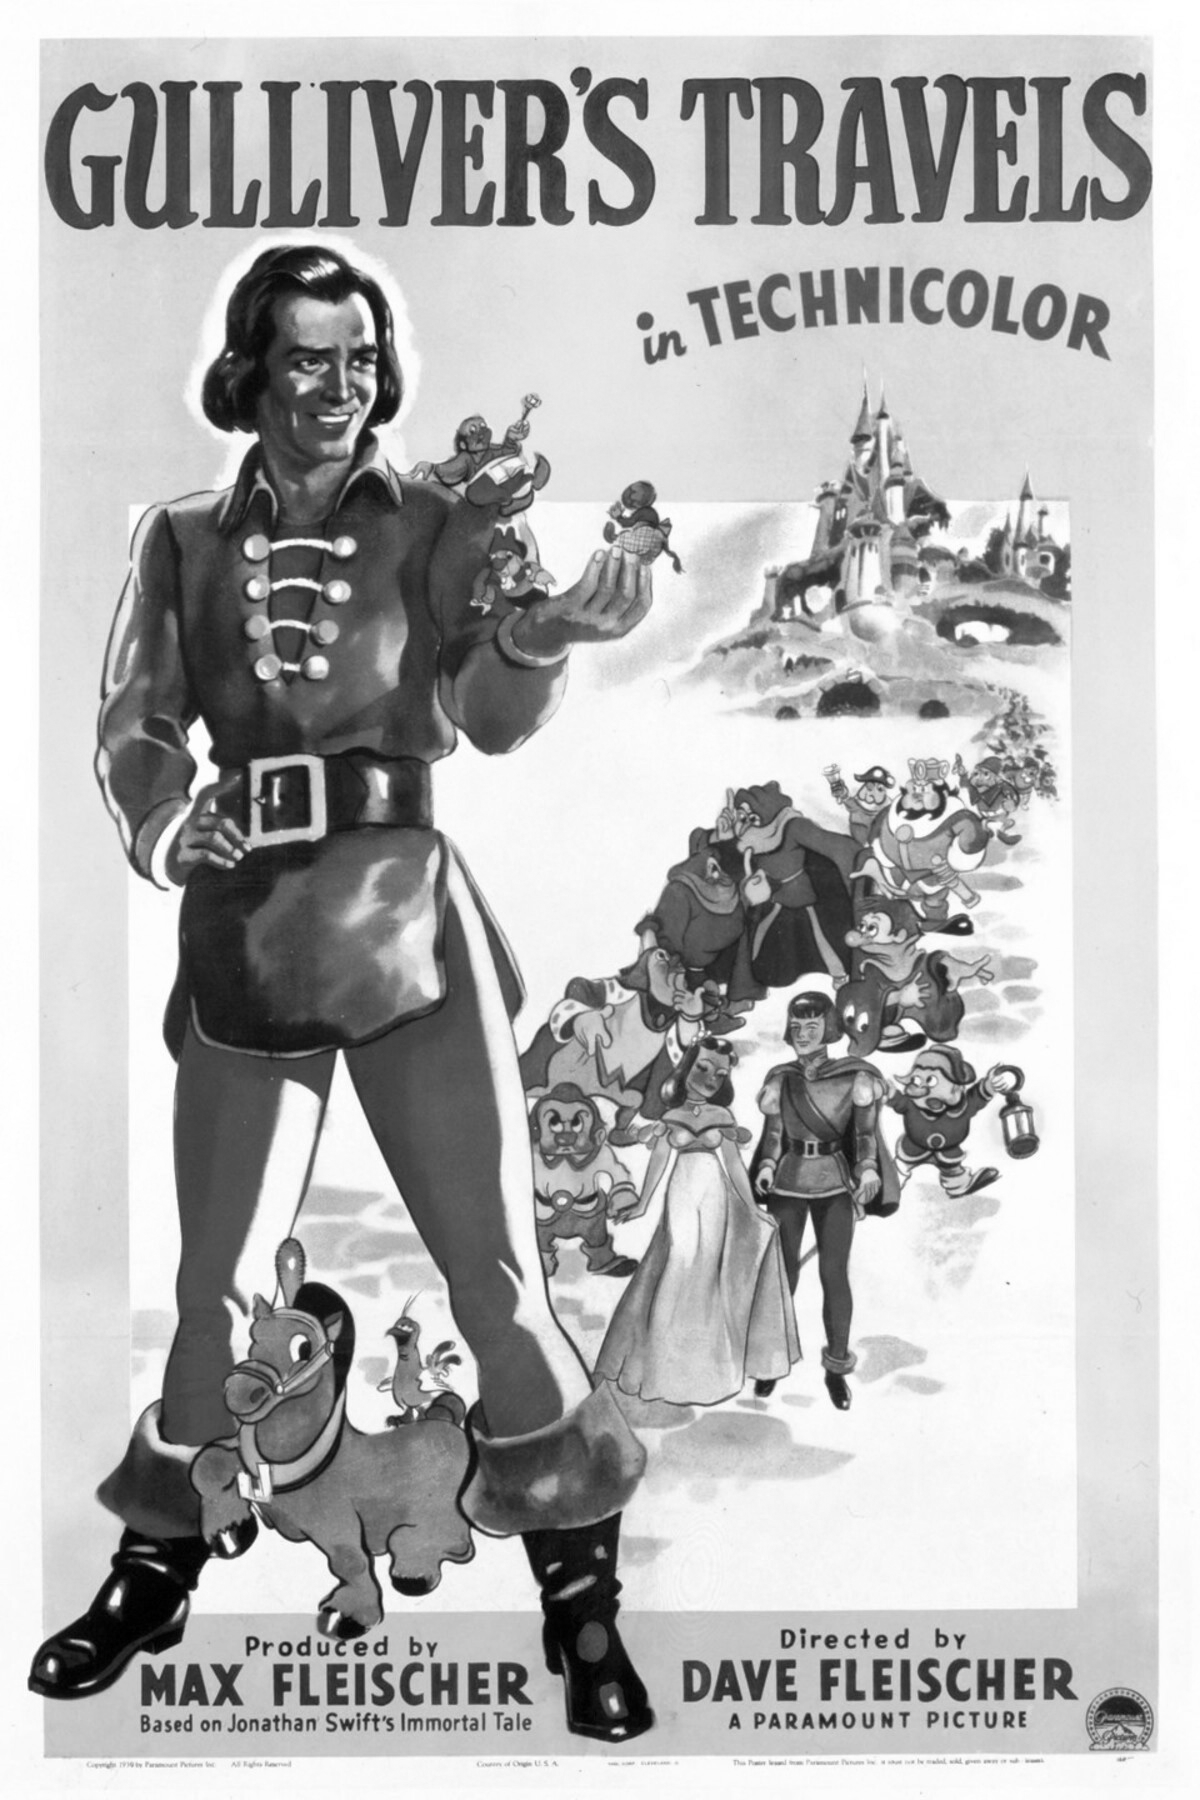
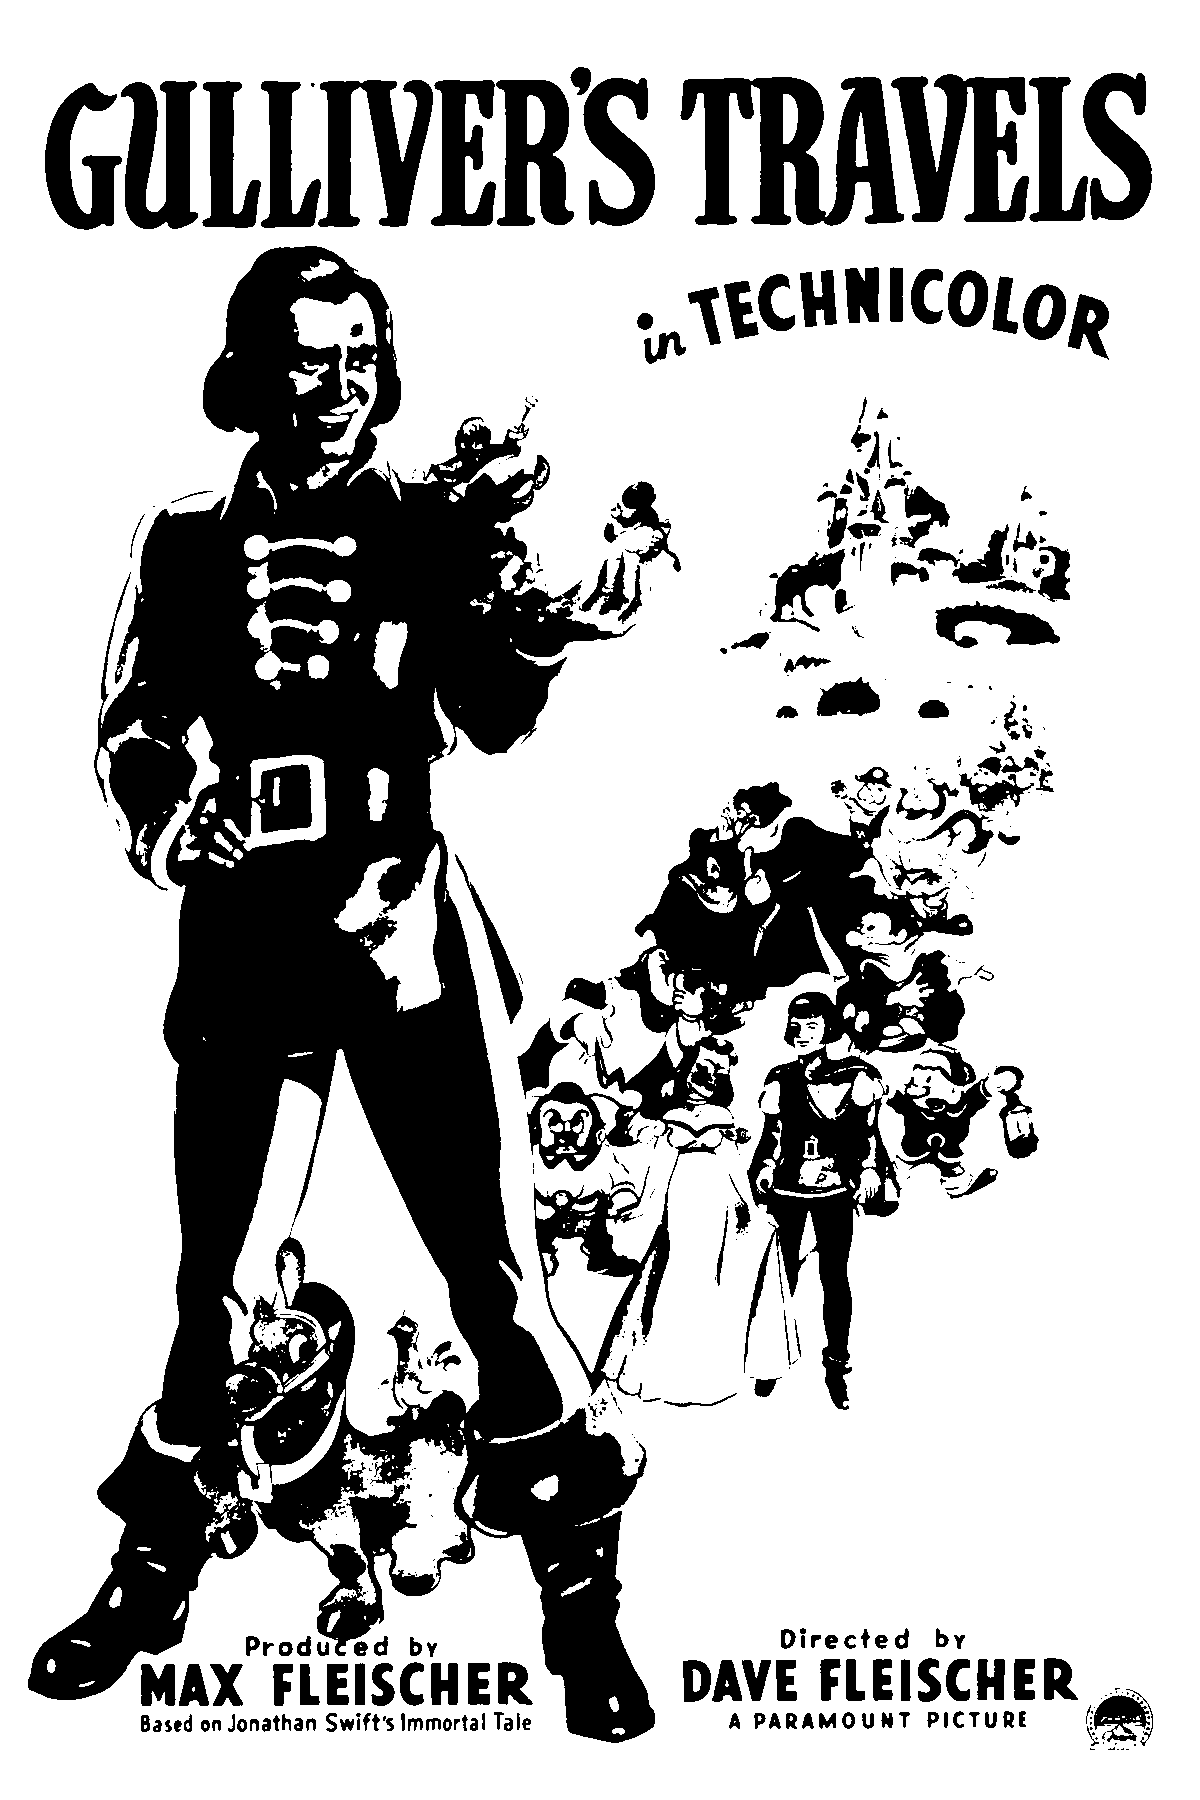
3. Binary
Write a function binary(img) that returns a new image that is a
binary---either black (0,0,0) or white (255, 255, 255)---version of
the input image. If the gray scale value of a pixel is less than 128
it should be black in the new image, and white otherwise.
def main():
    i_img = Image("/data/cs21/gulliver/poster.png")

    # Previous code from main has been omitted for clarity
    o_img = binary(i_img)
    o_img.save("binary_gulliver.png")

main()
4. Sepia
Write a function, sepia(image, sepia_amount), that applies an effect
which raises the red and green channels, and lowers the blue. In
particular it adds 2 * sepia_amount to the red, adds sepia_amount
to green, and subtracts sepia_amount from blue. 20 is a good value
for sepia_amount.
WARNING: Remember RGB values are only valid betweeen 0-255. Consider
writing a function like constrain(value, min, max), or simply use
conditionals, to assure your colors do not exceed the valid range.
The test in main below performs the grayscale effect first, and then
applies the sepia effect to the resulting image.
def main():
i_img = Image("/data/cs21/gulliver/poster.png")
# Previous code from main has been omitted for clarity
# The sepia effect works best if you grayscale the image
# first, as shown below.
o_img = sepia(grayscale(i_img), 20)
o_img.save("sepia_gulliver.png")
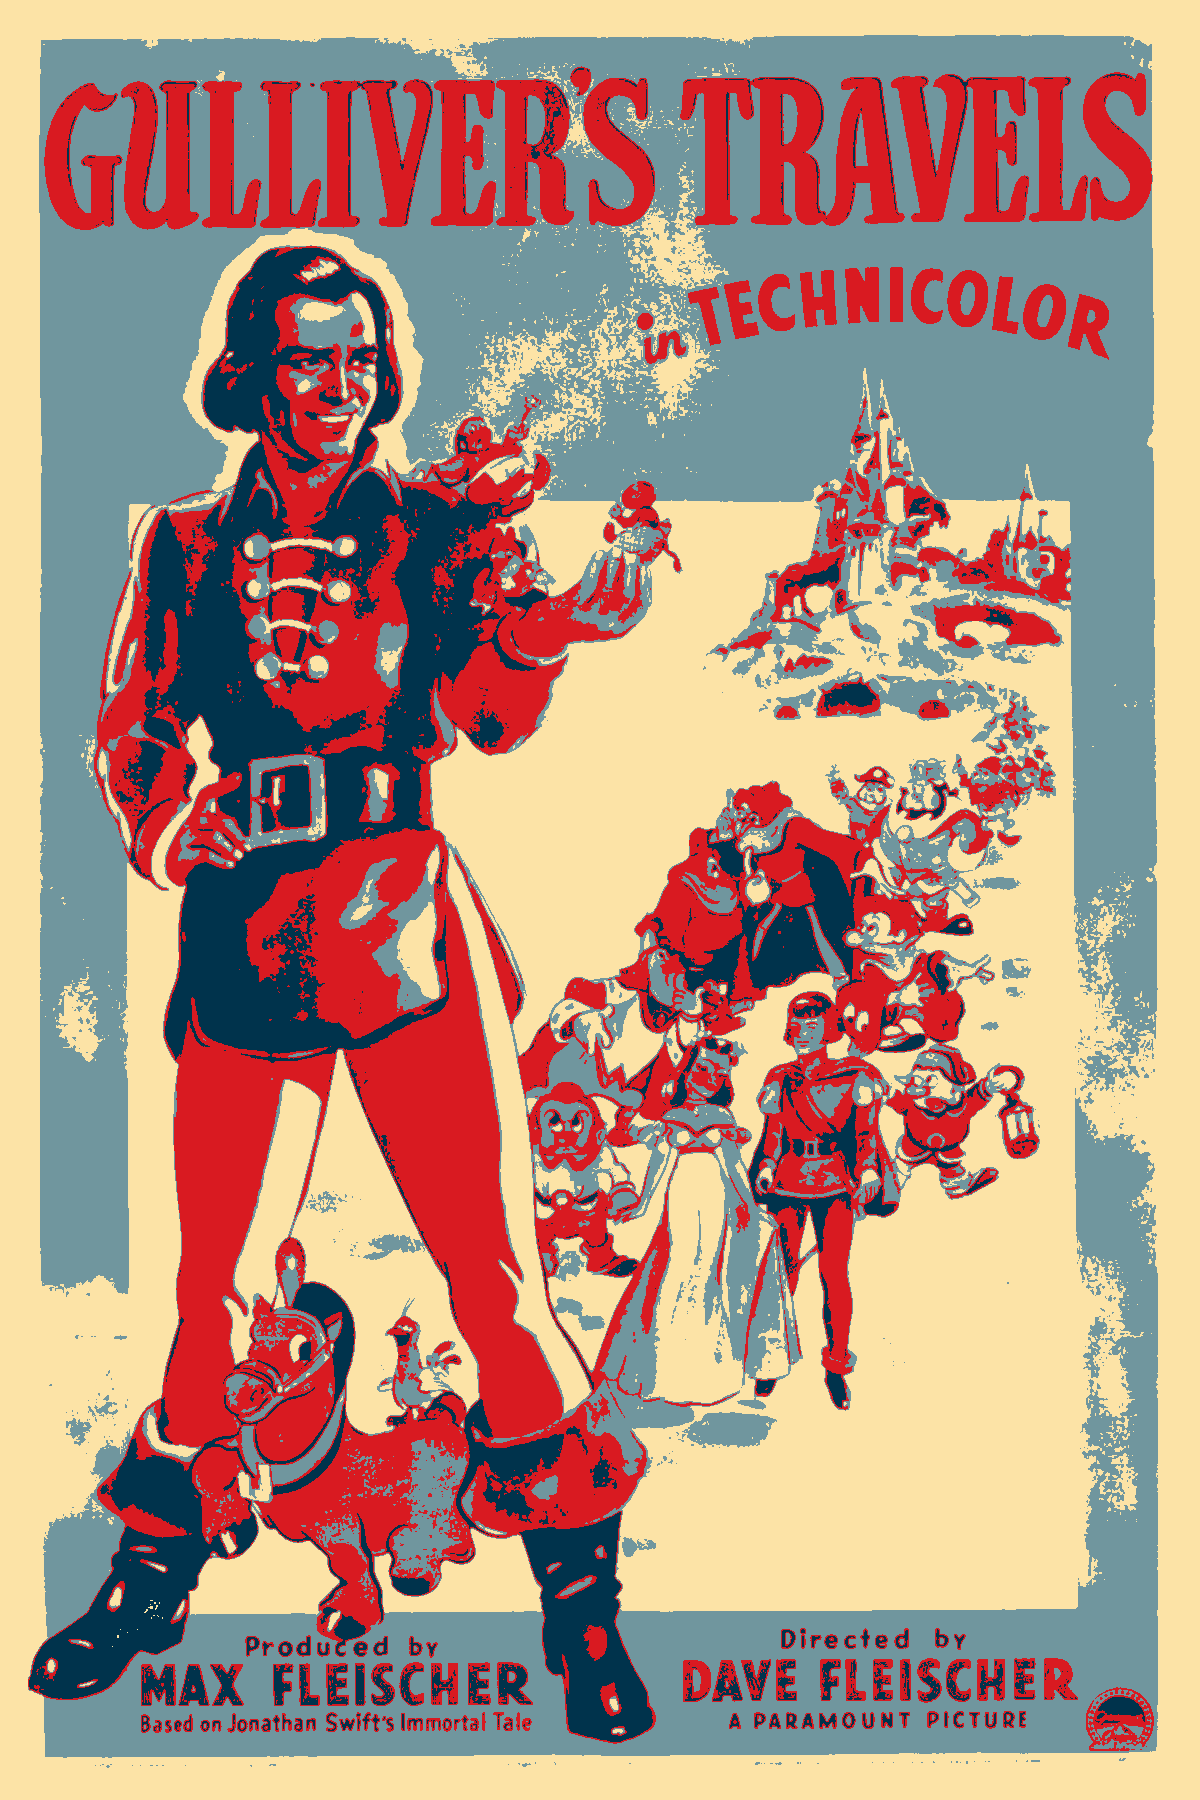
main()5. Fairey
Write a function that applies an effect similar to Shepard Fairey’s iconic Obama "HOPE" poster. Each pixel is colored one of four colors depending upon the sum of its RGB values. It assigns roughly equal intervals for each of the four colors.
RGB Sum      Color
---------    ----------------------------
0 – 181      darkBlue (0, 51, 76)
182 – 363    red (217, 26, 33)
364 – 545    lightBlue (112, 150, 158)
546 – 765    yellow (252, 227, 166)
def main():
i_img = Image("/data/cs21/gulliver/poster.png")
# Previous code from main has been omitted for clarity
# Notice that you can directly save the image to a file
# without storing it in a variable first. This is true for
# the other functions (e.g. negate, binary, sepia) that
# you've already written because the fairey function
# *evaluates* to be an Image which can then be saved.
fairey(i_img).save("fairey_gulliver.png")
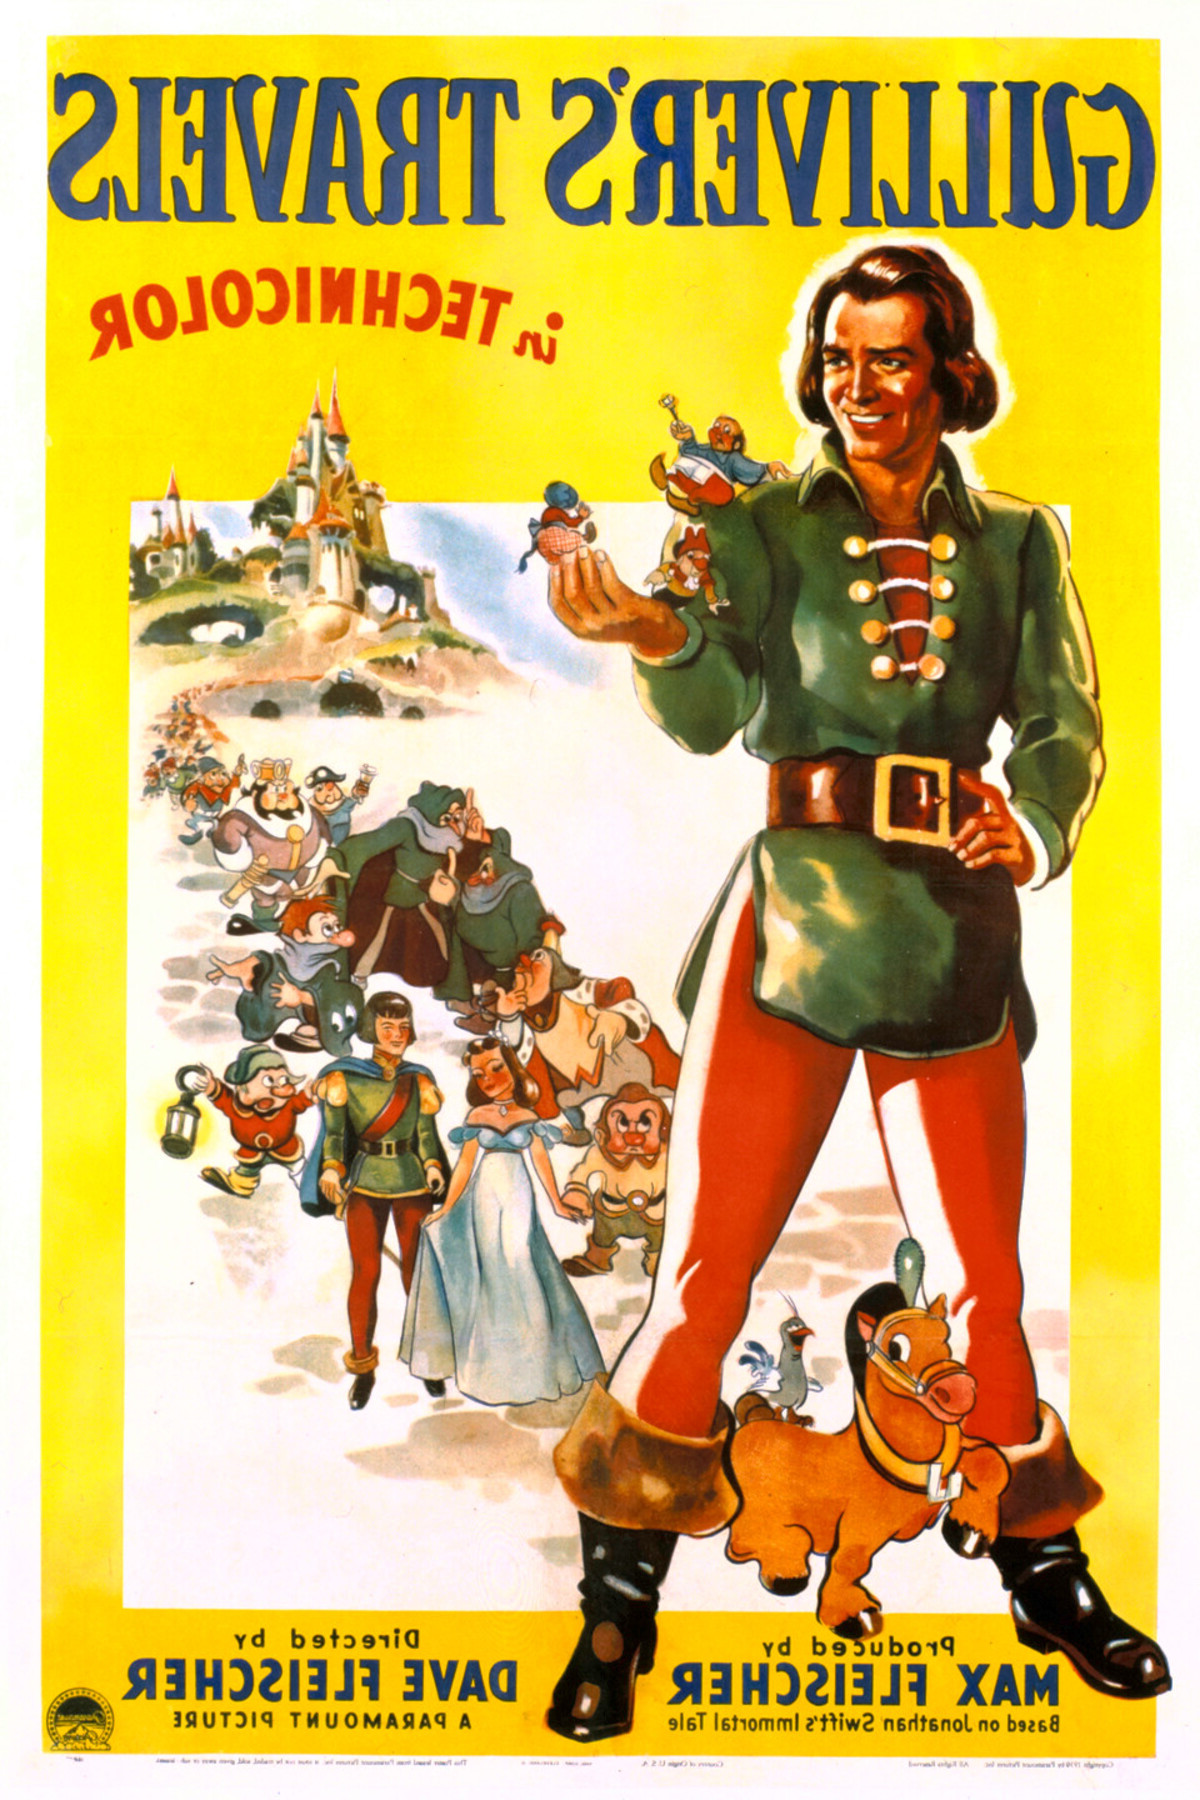
main()6. Mirror
Create a function mirror(image) that returns a version of the image
that is reversed horizontally. Note: if you are stuck, try writing
down the the algorithm for small 6 x 4 image on a piece of paper, and
then generalize that idea to any sized image.
def main():
i_img = Image("/data/cs21/gulliver/poster.png")
# Previous code from main has been omitted for clarity
mirror(i_img).save("mirror_gulliver.png")
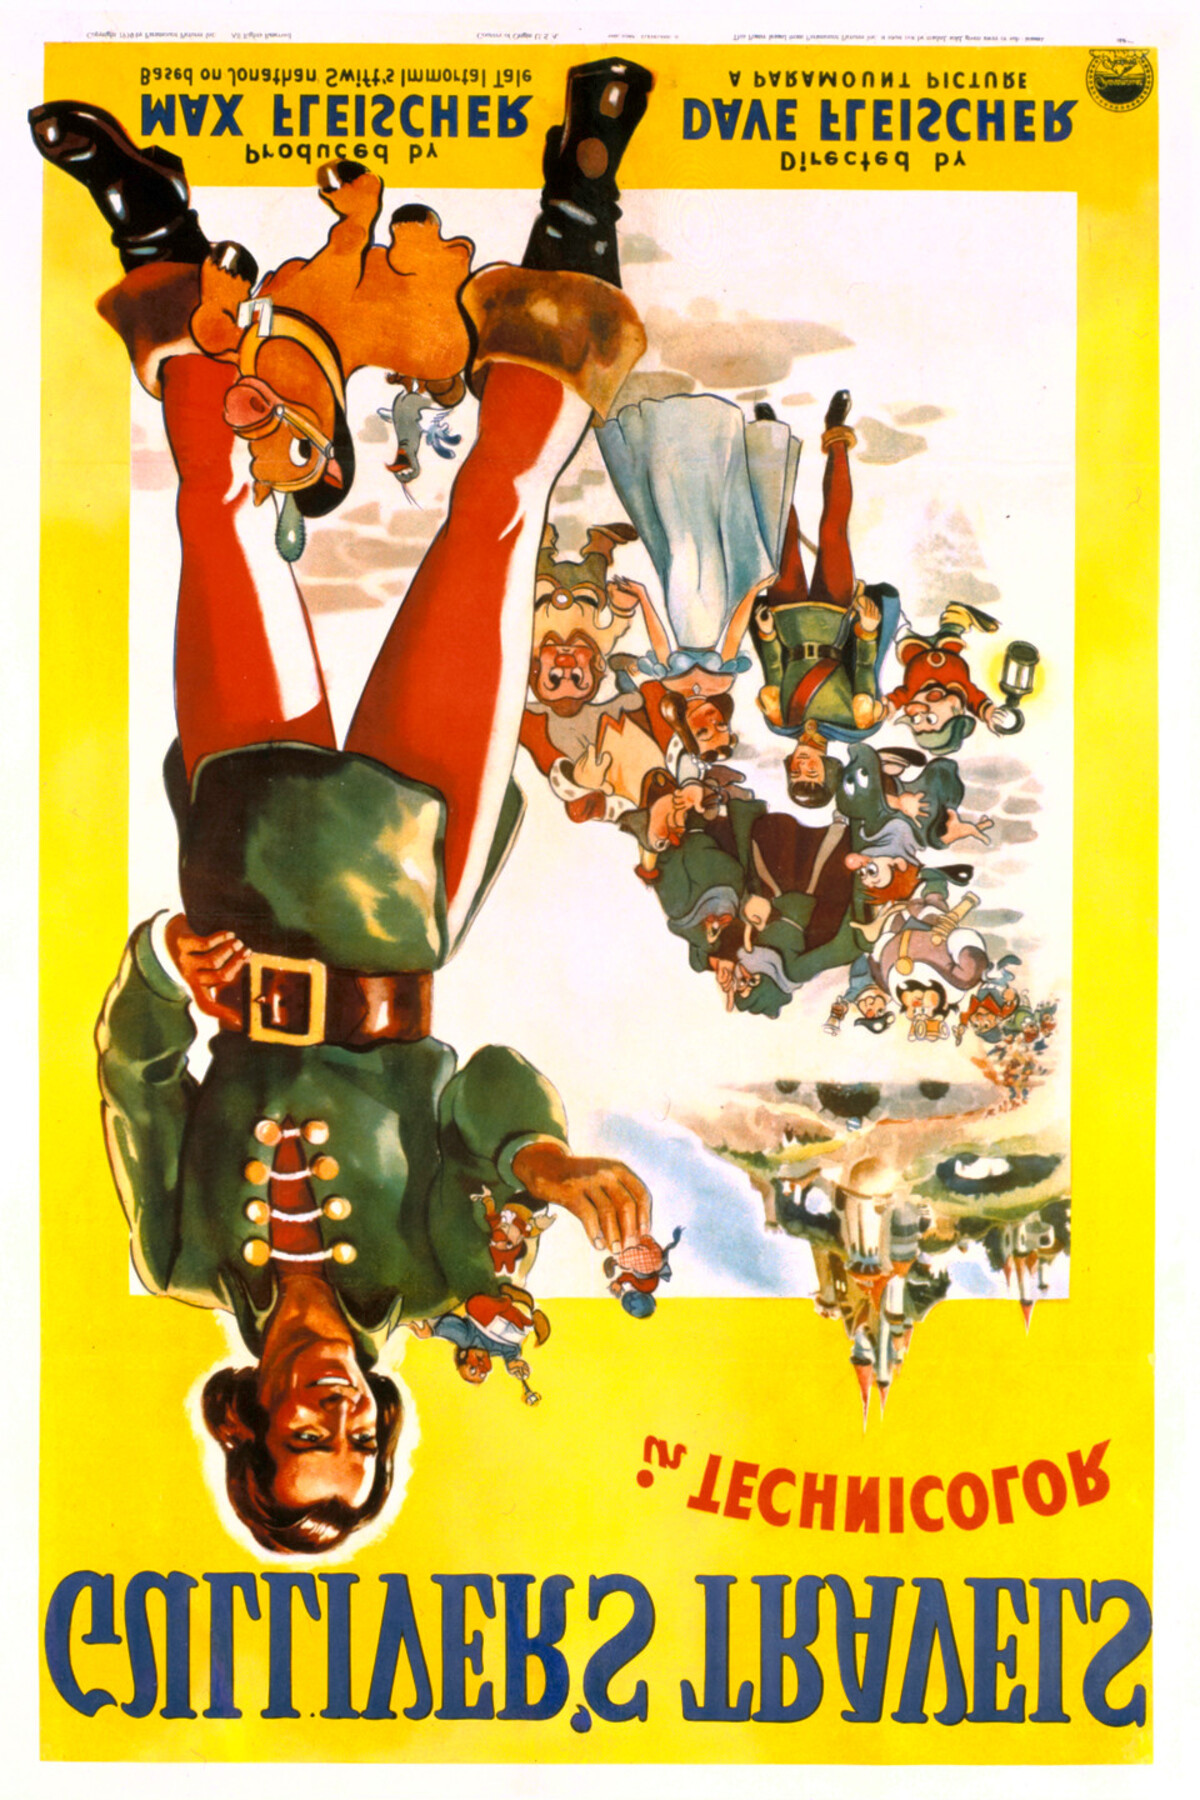
main()7. (Optional) Flip
Create a function flip(image) that returns a version of the image
that is reversed vertically.
def main():
    i_img = Image("/data/cs21/gulliver/poster.png")
    # Previous code from main has been omitted for clarity
    flip(i_img).save("flip_gulliver.png")

main()
8. (Optional) Photobooth
Create a function that takes a list of images and collects them into a single image such as the image shown below.
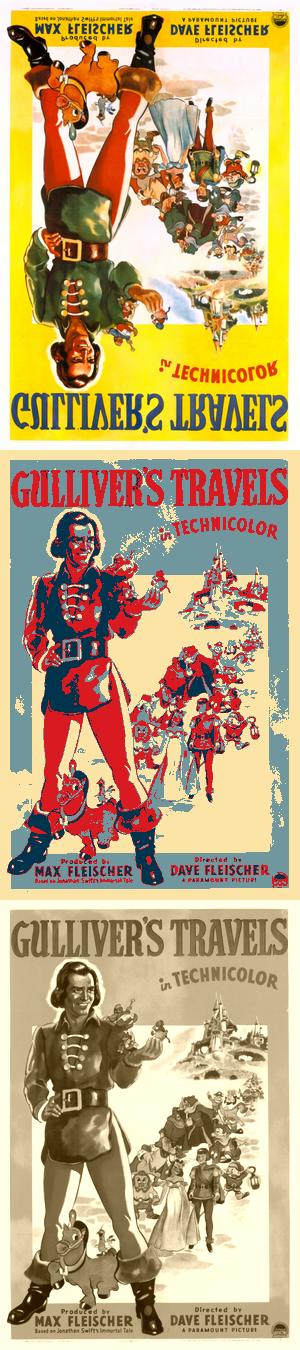
Or you can make a square image like this image:
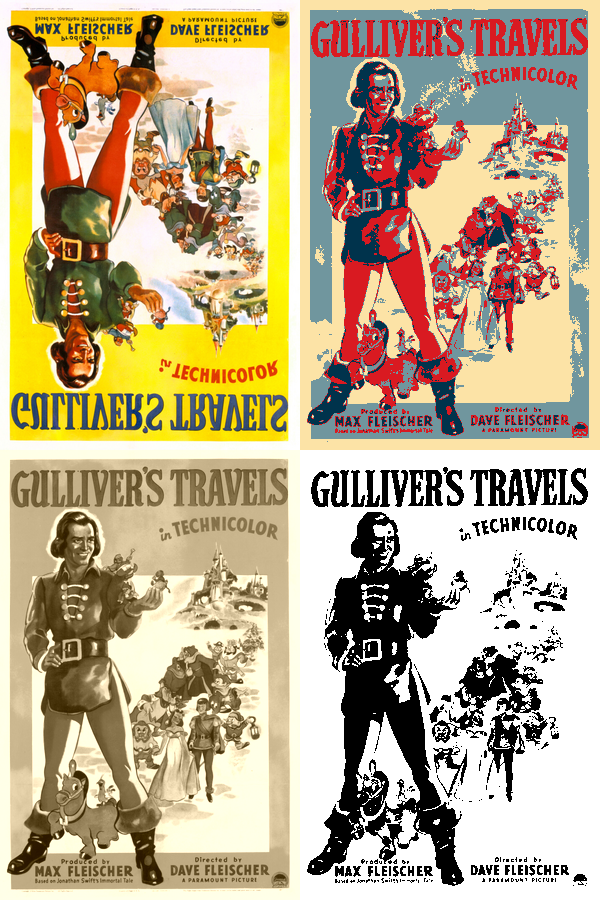
You can also try to make a horizontal strip or even a collage if you’d like!
def main():
    i_img = Image("/data/cs21/gulliver/poster.png")
    # Previous code from main has been omitted for clarity

    imgs = [flip(i_img), fairey(mirror(i_img)), sepia(grayscale(i_img), 20)]
    o_img = photobooth(imgs)
    o_img.save("photobooth_gulliver.png")

main()
9. Final main()
The final main using all your functions above should be the following:
def main():
    img = Image("/data/cs21/gulliver/poster.png")
    neg_img = negate(img)
    neg_img.save("negate.png")

    gray_img = grayscale(img)
    gray_img.save("gray.png")

    binary_img = binary(img)
    binary_img.save("binary.png")

    sepia_img = sepia(gray_img, 20)
    sepia_img.save("sepia.png")

    fairey_img = fairey(img)
    fairey_img.save("fairey.png")

    mirror_img = mirror(img)
    mirror_img.save("mirror.png")

main()
Answer the Questionnaire
Each lab will have a short questionnaire at the end. Please edit
the Questions-05.txt file in your cs21/labs/05 directory
and answer the questions in that file.
Once you’re done with that, you should run handin21 again.
Submitting lab assignments
Remember to run handin21 to turn in your lab files! You may run handin21
as many times as you want. Each time it will turn in any new work. We
recommend running handin21 after you complete each program or after you
complete significant work on any one program.
Logging out
When you’re done working in the lab, you should log out of the computer you’re using.
First quit any applications you are running, like the browser and the
terminal. Then click on the logout icon ( or
or
 ) and choose "log out".
If you plan to leave the lab for just a few minutes, you do not need to log
out. It is, however, a good idea to lock your machine while you are gone. You
can lock your screen by clicking on the lock  icon.
PLEASE do not leave a session locked for a long period of time. Power may go
out, someone might reboot the machine, etc. You don’t want to lose any work!
icon.
PLEASE do not leave a session locked for a long period of time. Power may go
out, someone might reboot the machine, etc. You don’t want to lose any work!