Week 6: Object Oriented Programming and Graphics
Class Recordings
To access recordings, sign in with your @swarthmore.edu account.
Monday |
||
Wednesday |
||
Friday |
Announcements
-
Run
handin21and submit lab early if you are leaving early for break. -
Quiz 2 this Friday.
-
No Ninja session Friday night.
-
Reminder that course staff have office hours. We haven’t had many visitors…
Week 6 Topics
-
Classes and Objects
-
Object oriented programming
-
methods vs functions
-
Graphics as objects
-
Animation
-
Fall break
Monday
-
Finish up the RPS exercise from last week. (Extra time task: https://www.essentially.net/rsp/ )
-
If we still have extra time, we plan to start with the Wednesday topics to make room for the quiz 2 this Friday.
Wednesday
Object Oriented Programming (OOP)
This week, we introduce a new style of programming called object-oriented programming (OOP). OOP is in contrast to the imperative style that we previously used, where functions and data are defined separately. In OOP, we introduce the concept of objects which are defined by:
-
The data they hold (what they know)
-
The methods they can perform (what they can do)
Objects are pre-defined in terms of what type of data and methods they have.
This is part of the class definition (we will do this later in the semester).
Classes are the data type (like str and list - both types of objects).
Objects are instances of a class. For example:
lst1 = list()
nums = [2, 5, 6]
Both lst and nums are objects of the class list. They hold data and
have methods that can be called on them e.g., append(), extend(), etc.
nums.append(10)
nums.extend([15, 20, 25])
To use objects, you need to first create the object. This is known as
initializing or calling the constructor of the object. The constructor is
a function that has the same name as the class type (list(), str()).
Second, you call methods on the object. Methods are similar to functions in
that they can accept input parameters and return values. Each method however is
part of a specific class and must be called on a particular object or
instance of that class using the dot notation <objectName>.<methodName>
|
"Function" vs. "Method"
While similar, the words function and method are subtly different.
|
There are generally two types of methods:
-
getters - methods that retrieve data from the object
-
setters - methods that change the data in the object
Some methods do a combination of both (both change and retrieve information).
You can use the help function in python to get a list of methods for a
particular class and some occasionally useful documentation. Just specify the
name of a class or the name of an object in the parentheses of help. For some
of the built-in types like str and list the documentation and methods may
cover features we do not cover in CS21. Do not worry about knowing all of these
methods. If we need a particular one in the course, we’ll tell you more about
it.
$ python3
>>> help(str)
>>> help(list)
Graphics Library
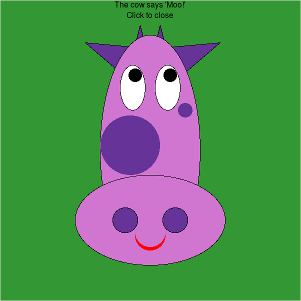
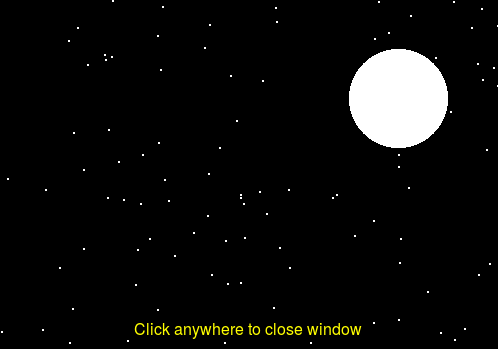
We’ll use a graphics library to help understand objects. Note that we are using a special (simplified) graphics library; refer to the documentation as well as links on the syllabus for the capabilities of the library.
Example programs:
The key elements for using the library are:
-
Import the library. The
*in this context imports all the classes and functions from the library. This is useful shortcut when we will be using most of the features in a library.from graphics import * -
In your program, create a
GraphWinobject — the graphics window where we’ll draw things.win = GraphWin("Title", 800, 800) -
Create whatever shapes you want. For example, a point:
pt = Point(200, 120) -
Draw shapes in the window
pt.draw(win) -
To prevent the program from closing, use the method
getMouse()that waits for a user to click the mouse before continuing/closingwin.getMouse() # Returns the coordinates of the click.
Playground
The playGround.py contains a small sample graphics program. Let’s test out
new things in here to get a feel for the graphics library.
On your own, spend a few minutes modifying the program and seeing the changes. In particular try the following:
-
Create a window that is wider than it is tall.
-
Add a few shapes to the window in different spots. Use the documentation to learn about new shapes and how to customize them.
-
Be sure to change the colors of at least one shape.
Friday
Colors
The library supports many named colors. If you want to see the available colors, use the color picker library:
$ python3
>>>from colorPicker import colorPicker
>>>colorPicker()
This will popup a swatch of colors; click on the color and the name will be
printed to the terminal. You can use the name in setFill() etc. to set the color.
Another option is to use a numeric value. One way to describe a color is the RGB standard - how much red, green, and blue there is in the color. This comes from television displays and monitors; a pixel on your screen is a combination of a red light, green light, and blue light mixed together. Each color can be described as an integer between 0 and 255 with 0 being e.g., "no red" and 255 being "full red". Here is how you can get the color corresponding to 200 red, 200 green, and 0 blue.
color_rgb(200,200,0)To use this value, give it to setFill()
circ = Circle(Point(50,50),25)
circ.setFill(color_rgb(200,200,0))
Animation and Moving
In animate.py, we’ll write a program that animates a circle across the screen. This will require the use of three ideas:
-
getMouse()method forGraphWinto get the location of where the user clicked -
move()method for all shapes to change the current location of a drawn object -
sleep()in thetimelibrary to create pauses in the code so that the movements don’t occur too fast.